Every so often I get messages from readers asking about how I scan my pennies onto the computer. For this blog I actually don’t scan but instead just photograph them, and to be totally honest I don’t have a fancy professional camera but instead just use my smart phone. The cameras on the latest phones are really pretty good and it saves me having to buy any additional hardware. But for my website and the database on my computer that I use to inventory my collection I do like to scan the pennies as I can more easily edit and manipulate the pictures for the purpose I need.
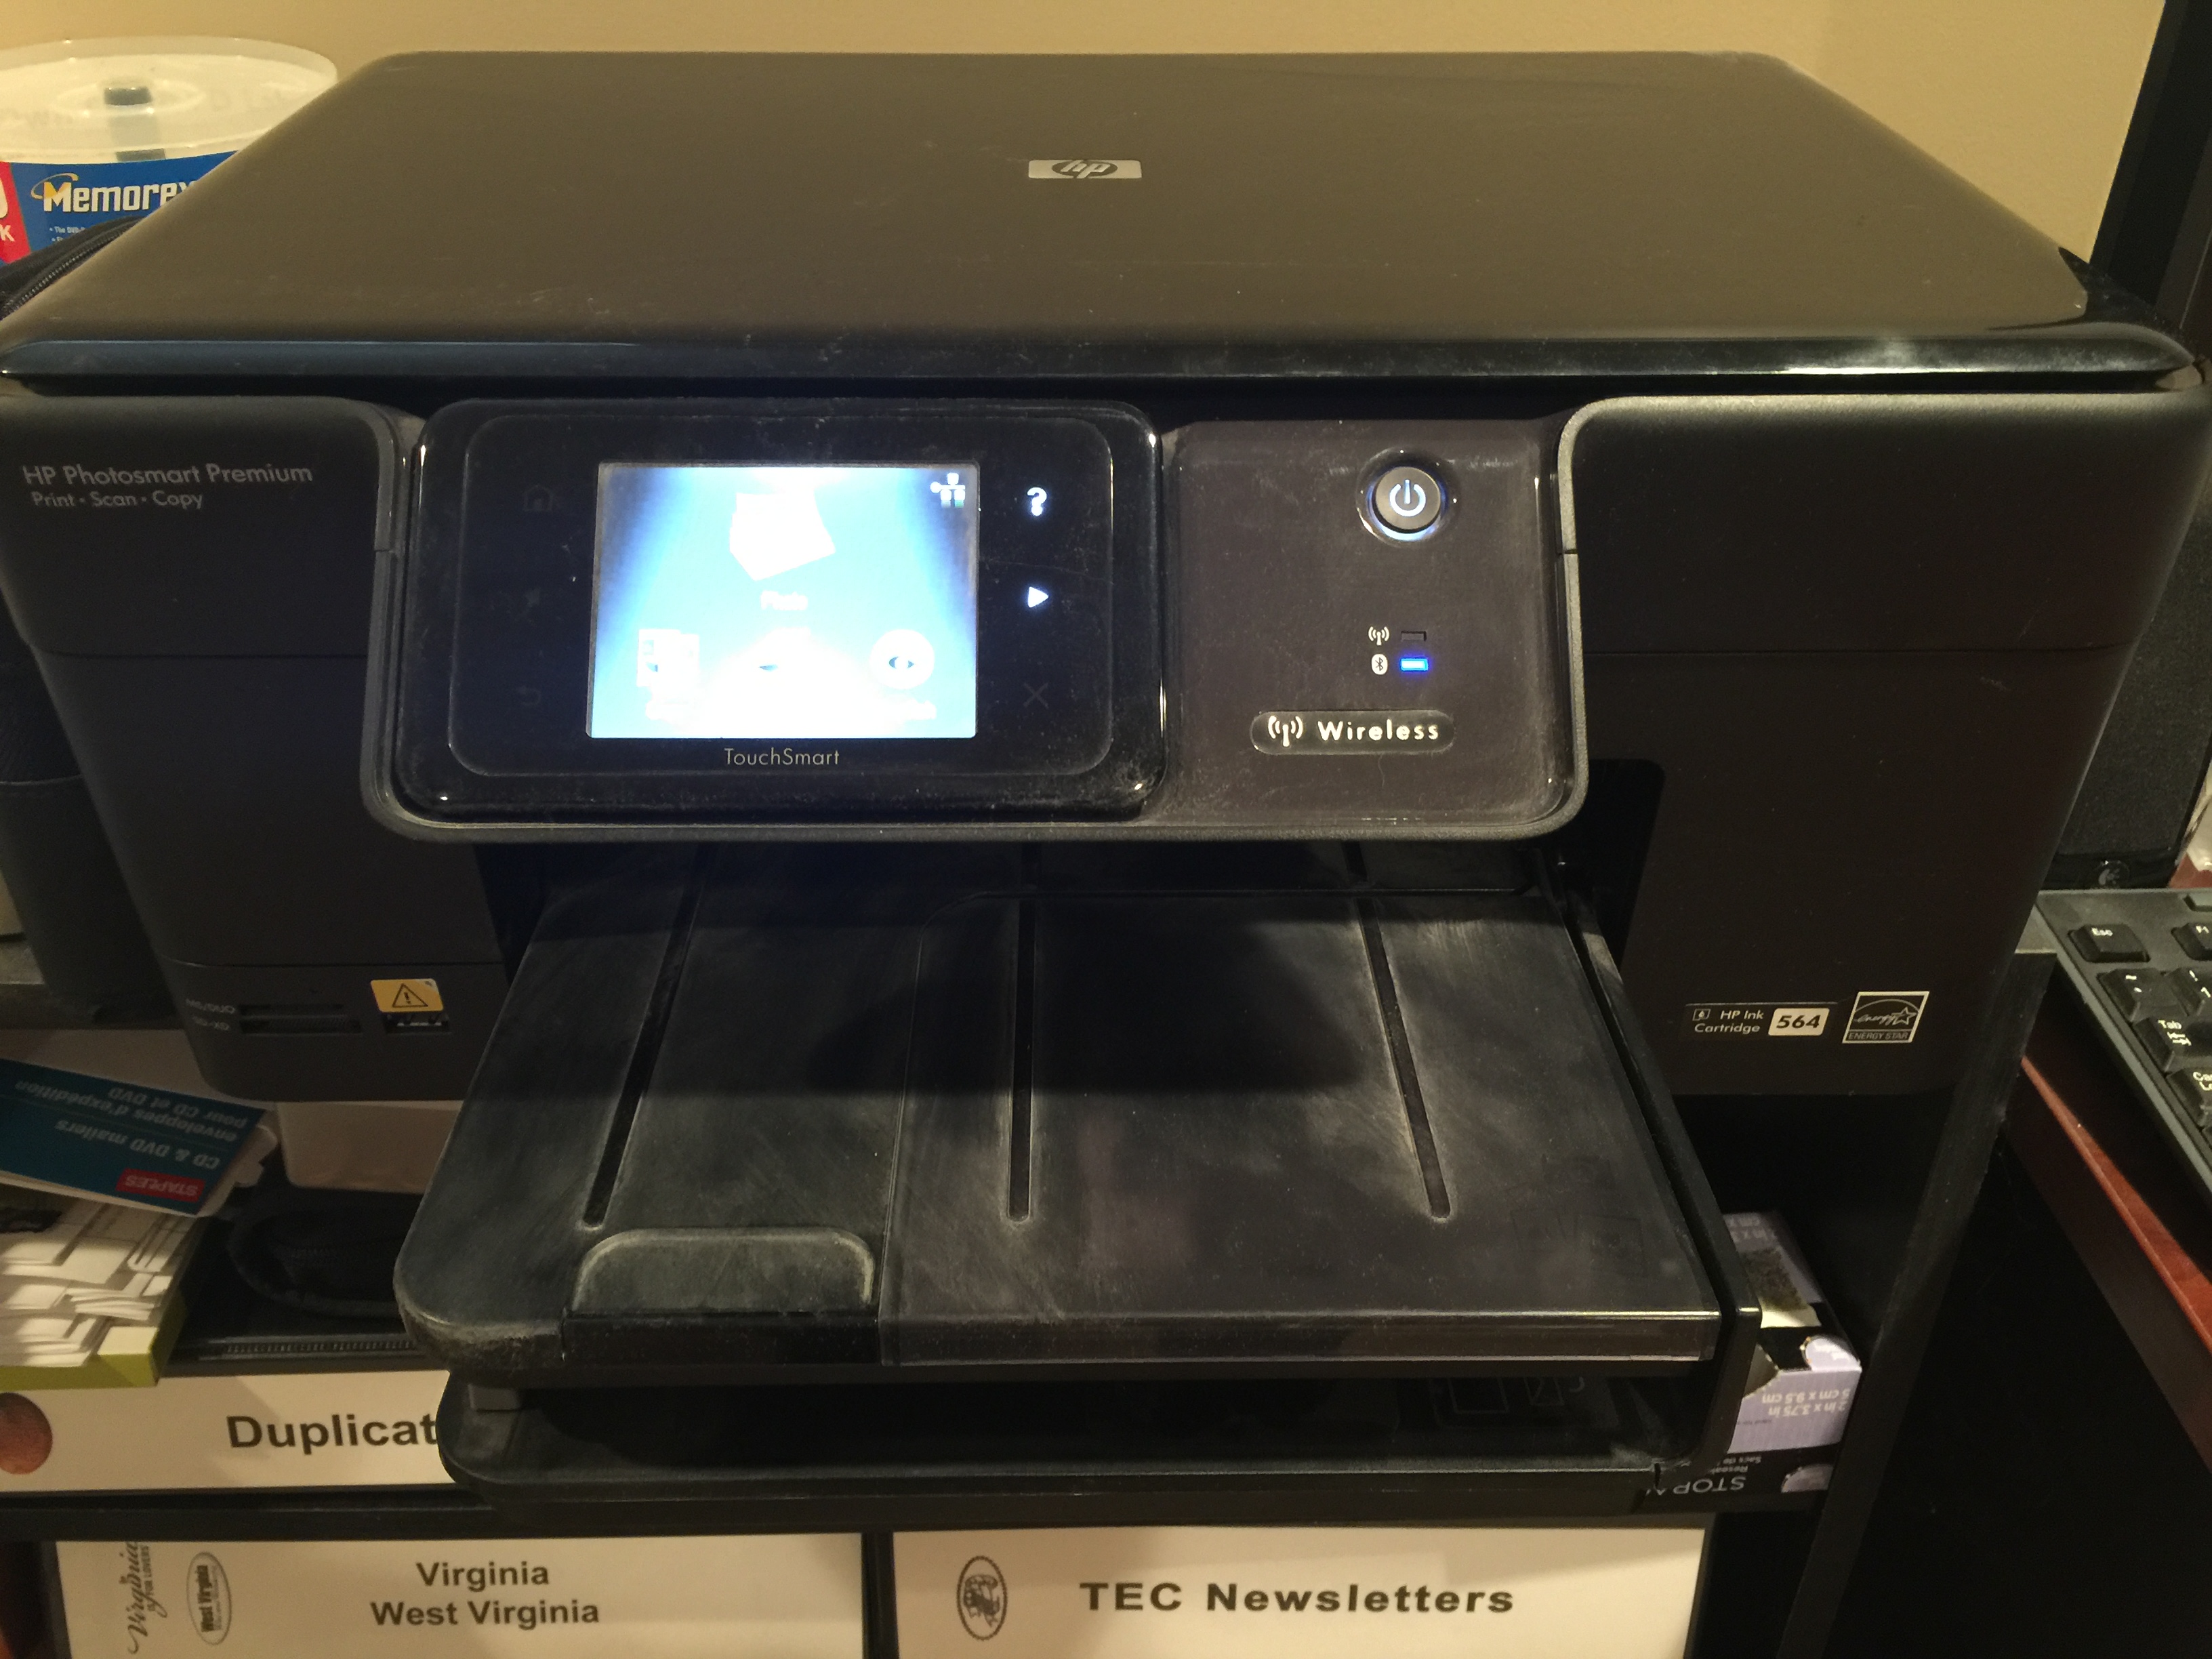
As you can see in the above picture I have an all-in-one printer/scanner/copier made by HP (Hewlett-Packard) and the model is Photosmart Premium c309g-m. Don’t let the multi-function unit fool you there really isn’t anything special to this machine. When I bought this 4 or 5 years ago it was probably around $200. I don’t know if this model is still available but these types of units are always changing and I’m sure there is something similar out there. But this doesn’t mean you have to use this exact unit and now a days unless your scanner is more than 10 years old most scanners will be able to handle capturing your coins.
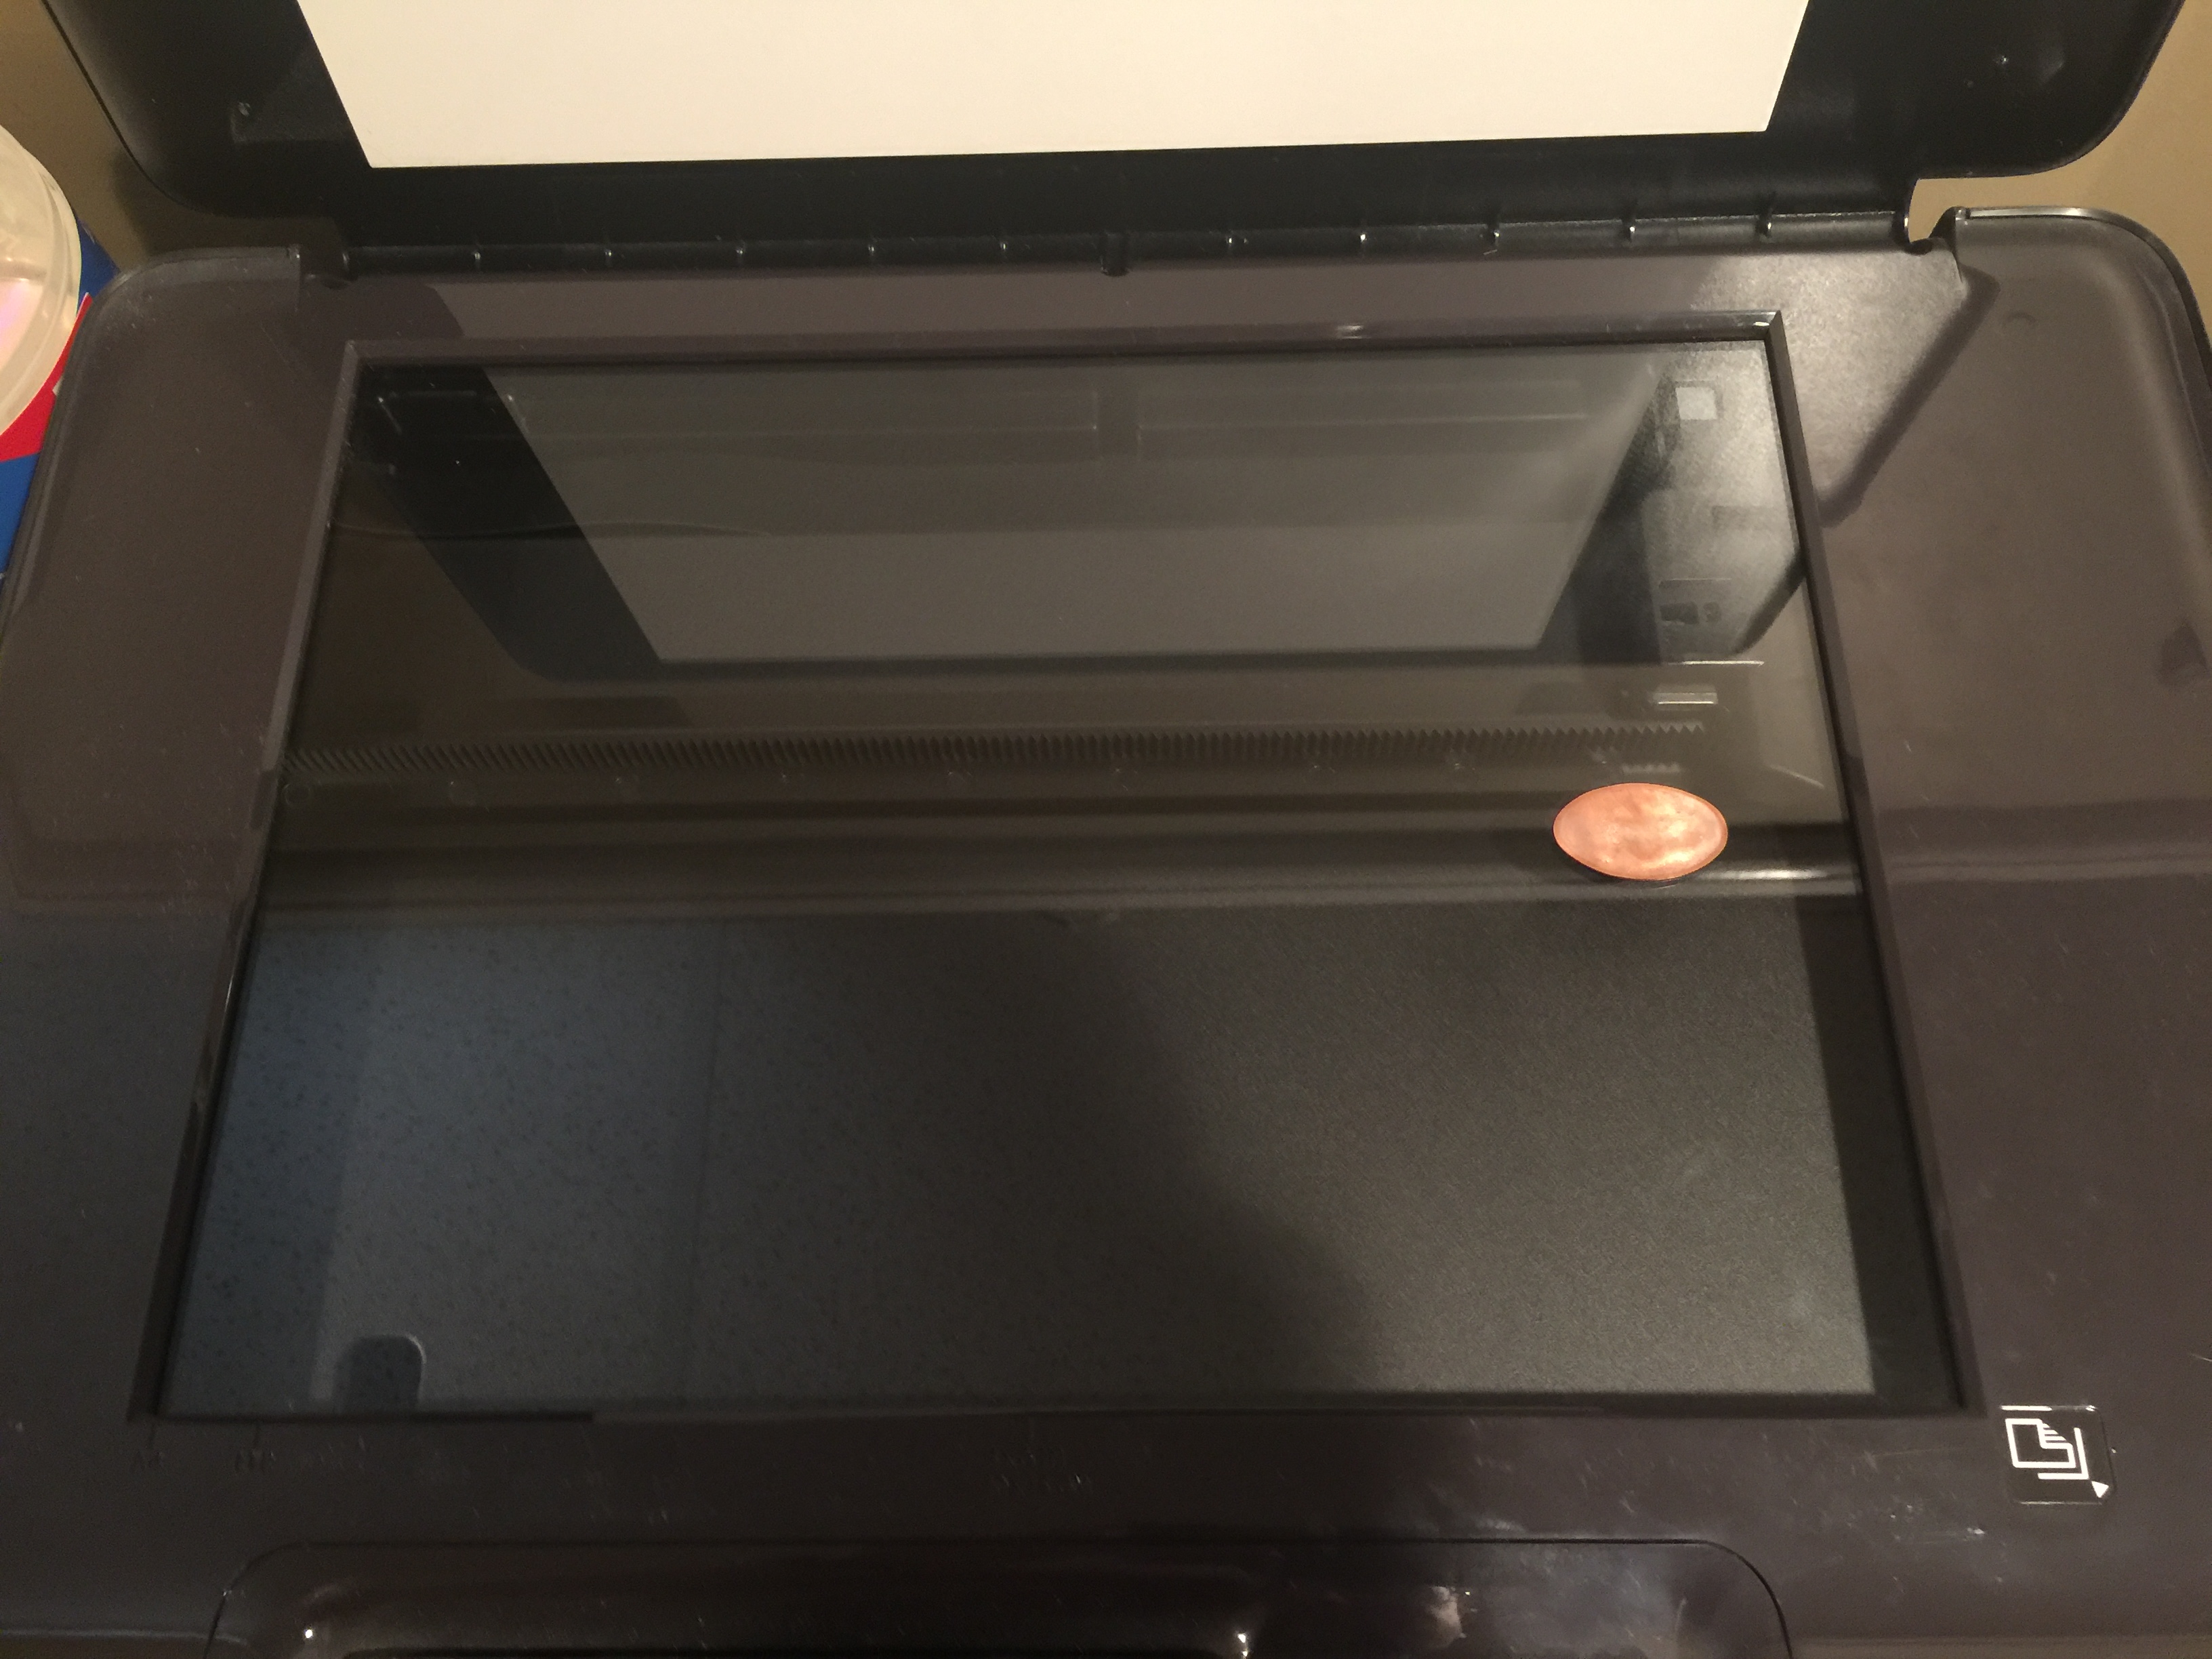
Once you are ready to start scanning there is always some discussion about where the coins should be straight up and down (vertical) so the scanner will pass the coins horizontally, or if the coins should be at a slight angle. I’ve done a few tests below so you can see some of the differences.

Above is a comparison of a coin pressed on a pennycollector.com machine. You can click on the above image for a larger view to compare the two scans. Please note these images were scanned separately and I combined them for easier comparison. In my experience the pennycollector machines for the most part roll really nicely with even pressure that makes for a great final product. When scanning coins from these machines if the coin is fairly flat (I’ll get into this more below) the scanning doesn’t change much and I don’t see that one way is considerably better than the other.
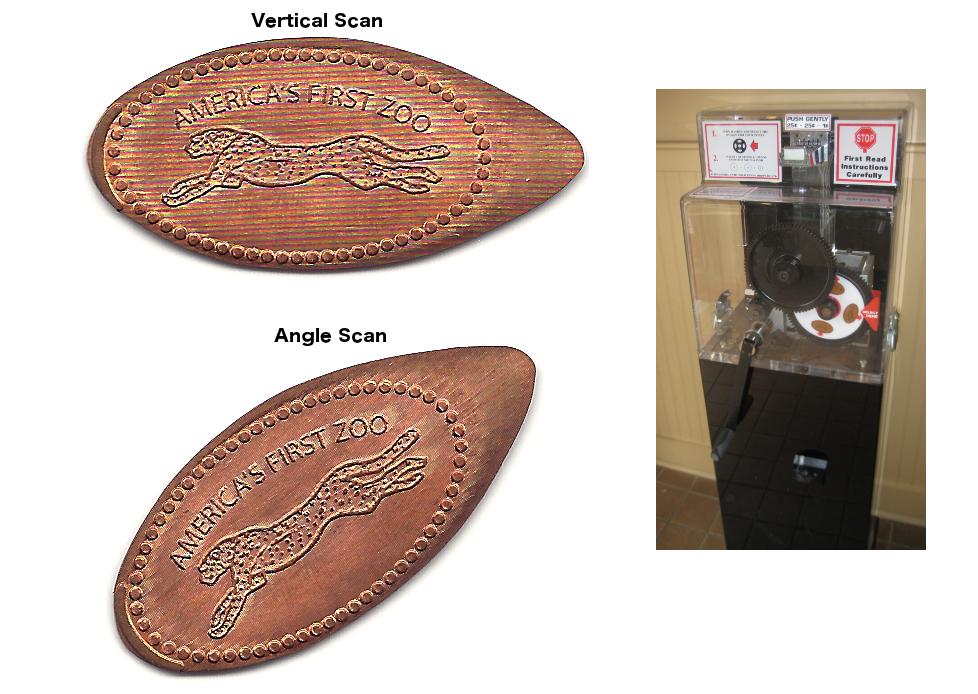
Next is a coin that was pressed on a RockyRockhold machine. As you can see in the vertical scan there are some very noticeable lines that show up. My only guess is that this type of machine presses the coins in a way that causes them to stretch more. I know these machines usually require a little more arm power to turn and I don’t know if this causes inconsistent pressure on the coin or if it’s just the type of die used in the machine. Whatever the reason I always find that coins from these machines get these lines on them when scanned. Now take a look at the angle scan and you will see that the lines are not as noticeable.

Another common issue I get with some machines is curving of the finished pressed coin. I don’t usually worry about straightening them but it does make a difference when scanning. When trying to straighten a coin I’ve tried a few different methods and the one that works best for me is just using a pair of needle nose pliers. I gently apply press to the curved section of the coin and try to bend it straight. This is a risky thing to do as you can bend it too far in the opposite direction, or more common I find is you get a crease on the coin that is pretty hard to ignore. For this example I had an extra coin and in the above picture you can see the original coin on the left had two curves to it, and on the right was after I attempted to straighten it.
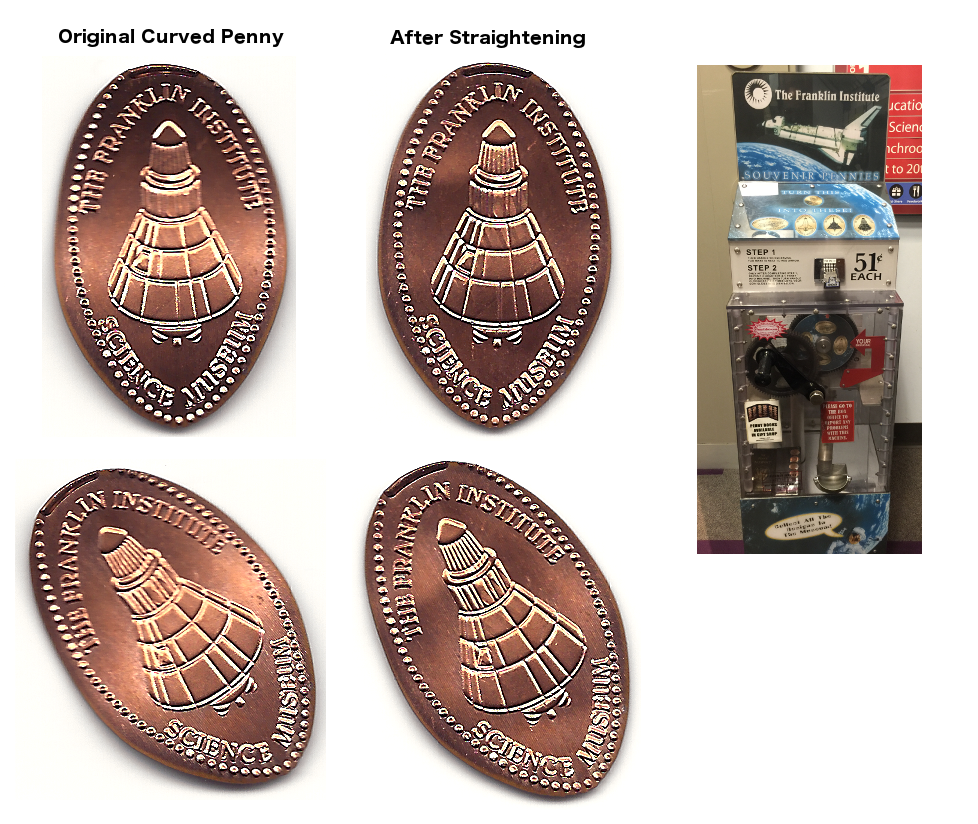
The above image has several comparisons. On the eft I have the original coin with the curves and you can see a light area in the middle of the scan (between the two curved areas) which is where the scanner light reflected more than the rest of the coin. Now in my opinion this isn’t completely terrible and I would probably be okay with using it for my records especially since I don’t link straightening my coins. For the sake of science I bent the coin to show the difference which is the set of coins on the right. I also included the vertical scans and angle scans for a complete comparison. The straightened coins don’t have that light bands running through the middle and in my opinion the vertical scan seems a little more detailed.
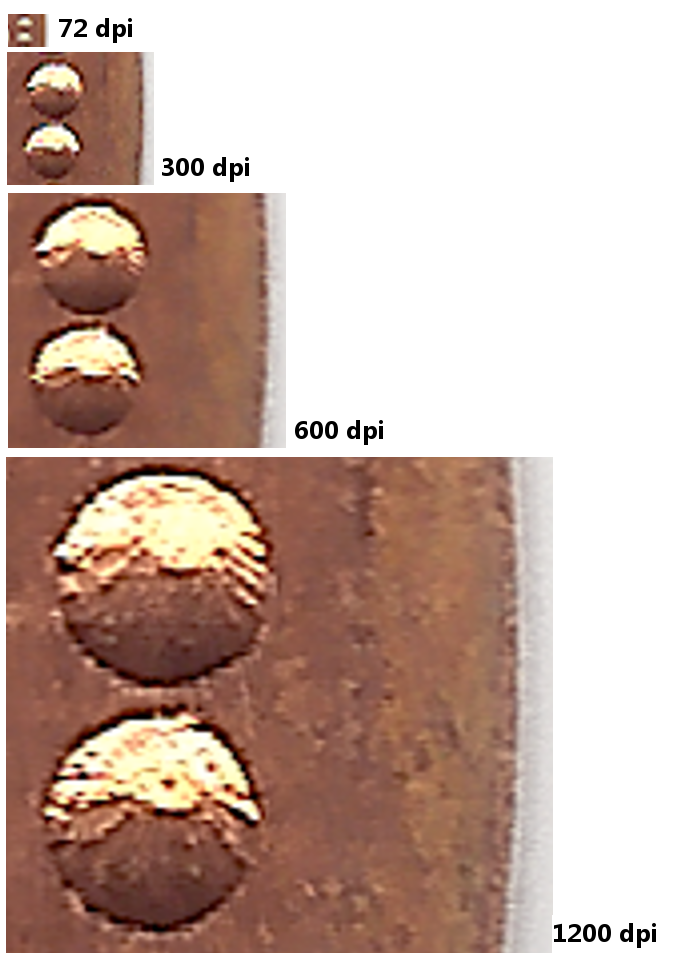
Now lets talk about scanning resolution. This is primarily listed by what is knows as dpi or dots per inch (also sometimes listed as ppi which stands for pixels per inch). I scanned one coins which you will see below in 4 different resolutions and combined them in the above comparison image. The lowest I tested was 72 dpi and when up to 1200 dpi. My scanner could go higher but for these types of scans really aren’t necessary. As you can probably guess the more dpi you scan at the more detail (dots/pixels) there are in the final image.

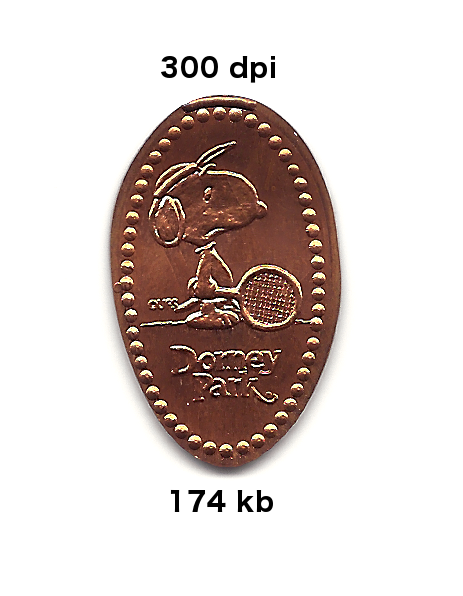


The above images from left to right are the same penny just scanned at different resolutions. Starting on the left the images are 72 dpi, 300 dpi, 600 dpi and finally 1200 dpi. Clicking on each image above you can see how the detail is so much better with the high resolutions. However this comes at a cost when it comes to file size, it should come as no surprise that the more detail in an image file the larger that file will be. In the images above I also included the size of each file. Years ago computer hard drive costs were very expensive and may have because a major factor in the resolution you would need to scan large quantities of images. But today the cost of storage is pretty cheap, and there are even some online cloud storage solutions that give you huge amounts of space for free. For me, even though file size isn’t really a factor I find that I scan my coins at 300 dpi. This gives me enough detail for what I need, anytime more than that is really overkill at least for what I use.

The last topic I wanted to review was file type. There are numerous different file types that are associated with digital pictures (JPEG, PNG, GIF, TIFF, BMP etc). In my examples I’m only really going to go over two types JPEG (Joint Photographic Experts Group) and PNG (Portable Networks Graphics).
JPEG’s compresses (shrinks) image data by reducing sections of images to blocks of pixels. This type of compression unfortunately is permanent and when you zoom in close to these types of files you will notice some blurring around edges and transitions between colors. But this file type was created for storing large photographic images in a small amount of space, and was not intended for photo editing purposes
PNG was developed to use a different compression algorithm (fancy word for the steps a computer takes to perform a task) than what is used for JPEG’s. PNG supports 24-bit RGB color palette just like JPEG, but there is much better compression without degrading the image quality. However, PNG is not supported by all internet web browsers although this is primarily only an issue for older browser versions.
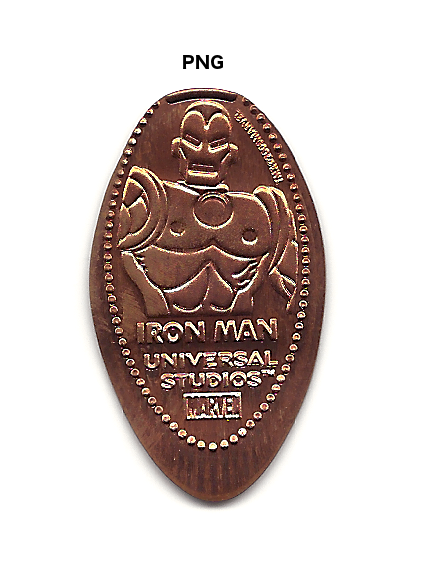

In my last comparison above these are both the exact same scan just saved as a PNG on the left, and a JPEG on the right. As you can see these are pretty similar even when you blow them up to a larger scale. If I was forced to choose I tend to go towards the PNG which is what I have been saving my images as lately. Most of the pictures on my website are JPEG’s, but I have over time slowly been converting them to PNG’s.
As with anything all the above comparisons are subjective to the viewer. What I think looks better may not be what you prefer and that’s perfectly fine. All I can say is do some tests of your own and see what comes out best for you. I hope this helps in some way, it did take some time to set up and perform the tests but was it fun in its own strange way. Good luck scanning.

Pingback: davidscointravels Office Tour | David's Coin Travels