Pressed Penny Minted Date Comparison

In past posts, I’ve gone over how Pressed Penny Collectors usually prefer to use what are known as Pre-1982 pennies.  This is due to the larger percentage of copper used in those older coins.  Starting in 1982 the United States Mint changed the metals in the penny to 97.5% zinc with only a 2.5% copper coating.

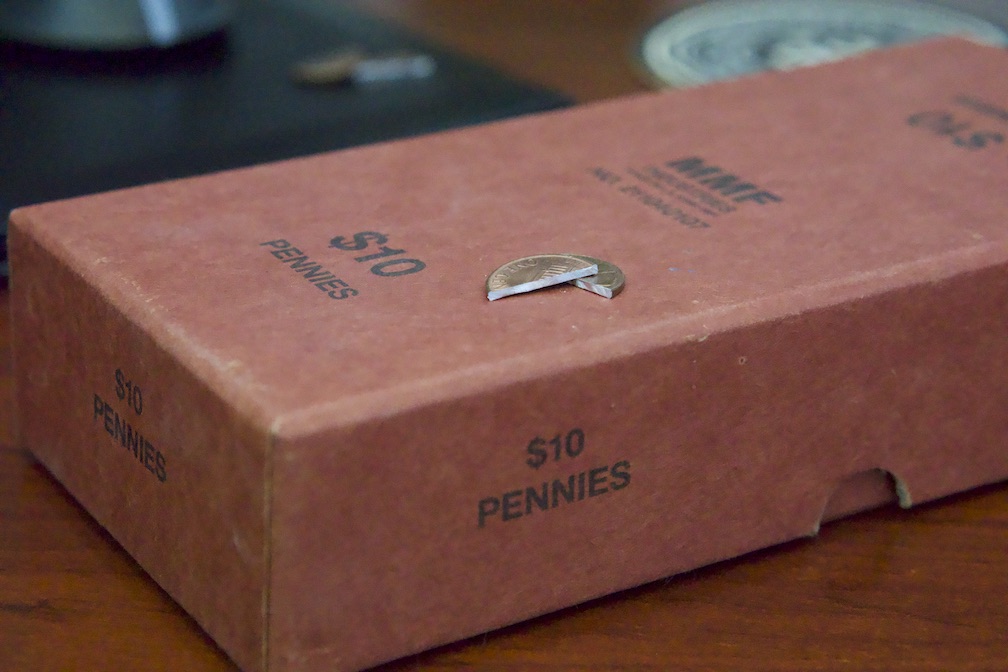
A common complaint among collectors is that when using these new pennies that thin copper coating can stretch and tear while being elongated to reveal streaks of the zinc core.

Years ago after learning more about this from fellow collectors I quickly changed over to pre-1982 pennies and of course had to go back and replace quite a few pennies in my collection.  Recently I was working on a video for Youtube and decided that I wanted to do a massive comparison between pennies with different minted dates.

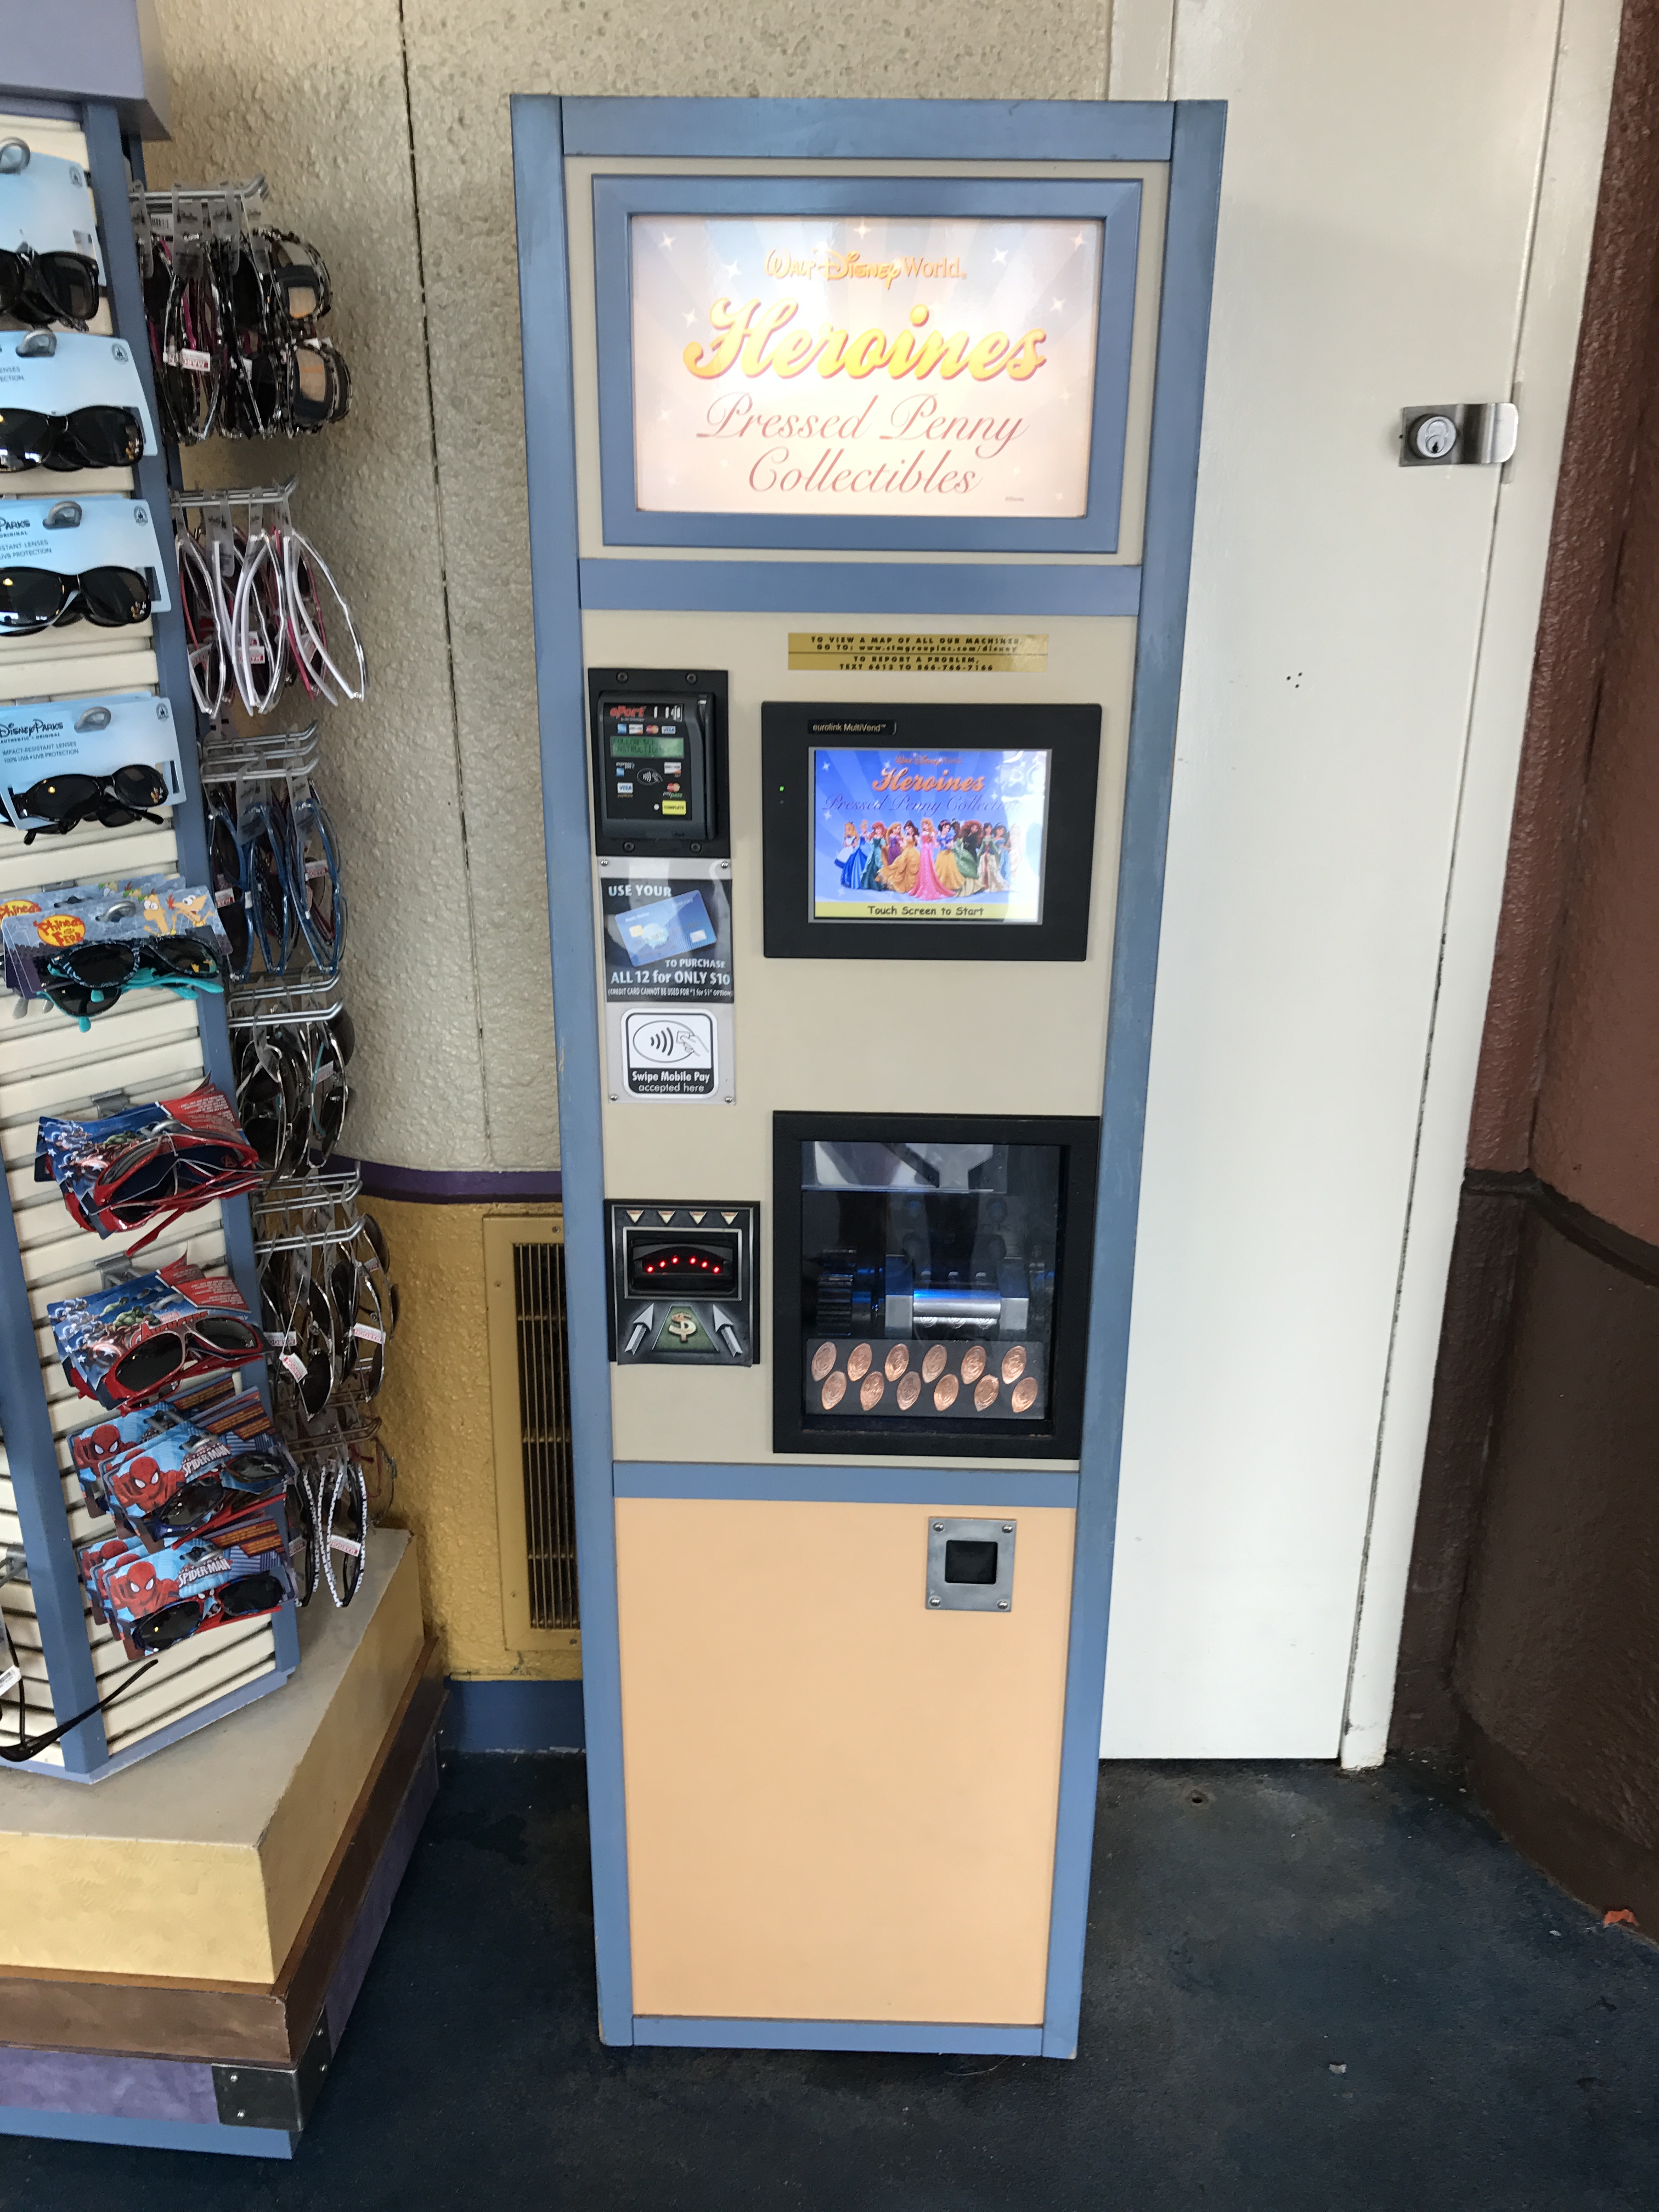
First I had to figure out which pressed penny machine to use.  I wanted the design to be fairly simple but also needed to ensure that the machine (hopefully) would be around for years to come.  This is because I’m hoping to continue with this in future years to keep the comparison up to date.  Also due to many of the theme parks around Orlando being closed this did limit what machines I would have access to.  After going through my options I decided on a machine in Disney Springs at the Pin Trading store.

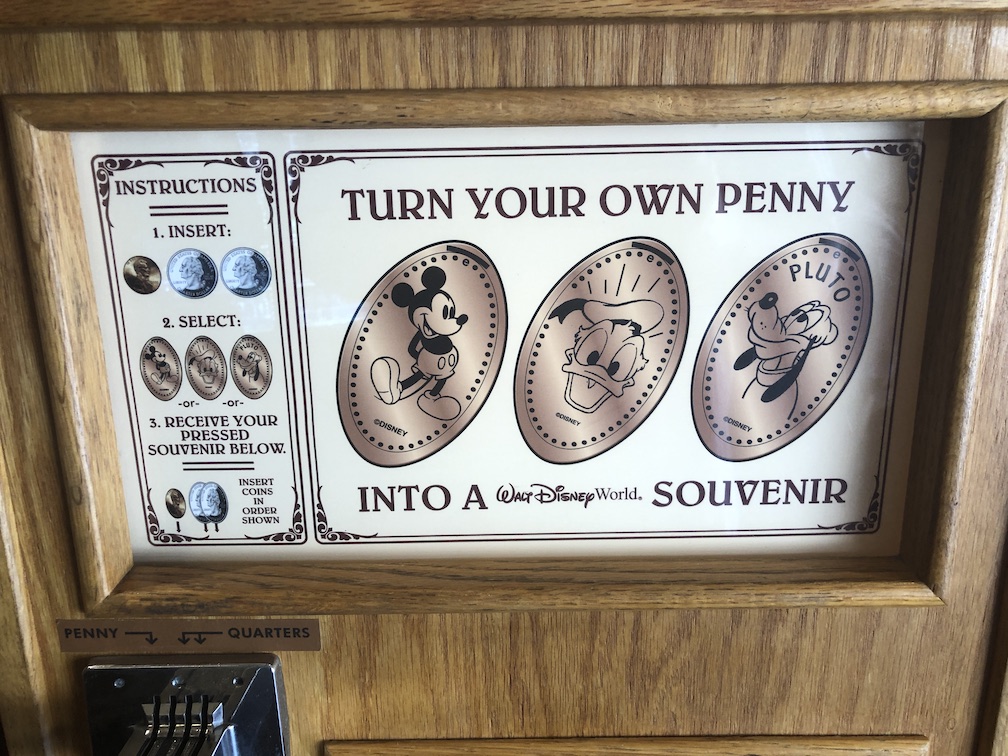
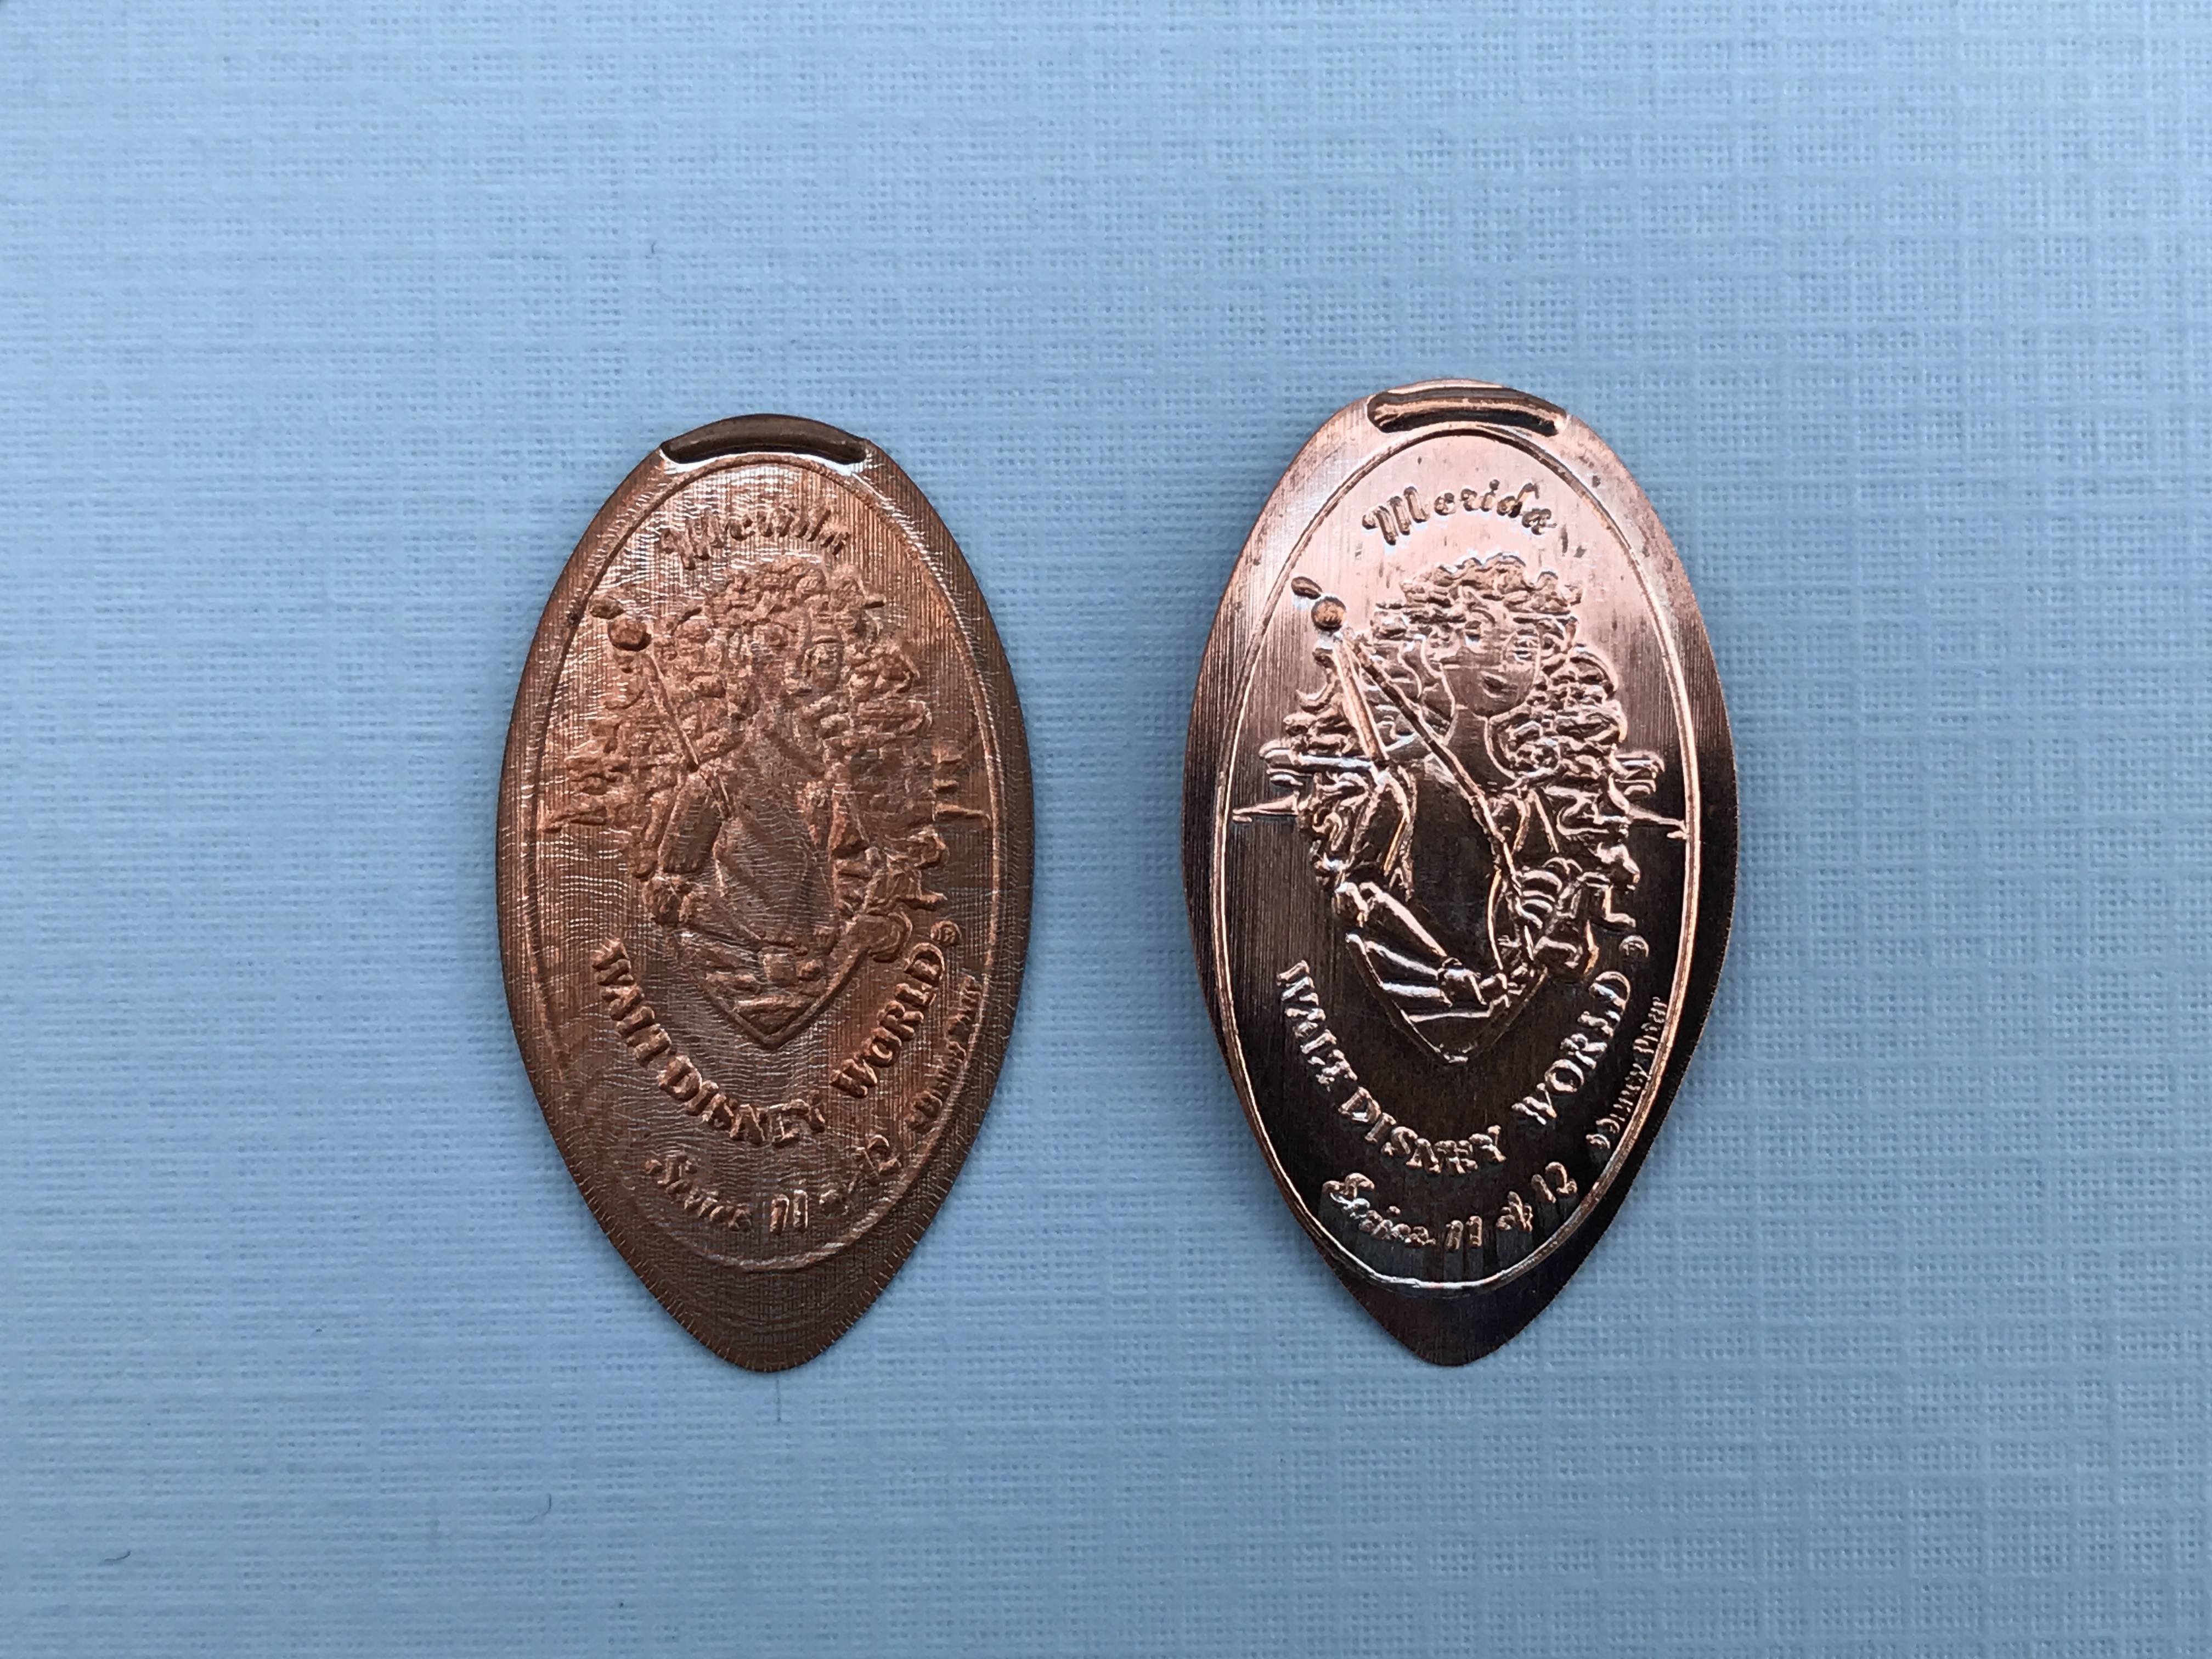
The design I chose was of Classic Mickey Mouse.  I don’t see Disney retiring this machine or design any time soon.  Mickey is here to stay for a long time.  Hopefully, I didn’t just jinx things.

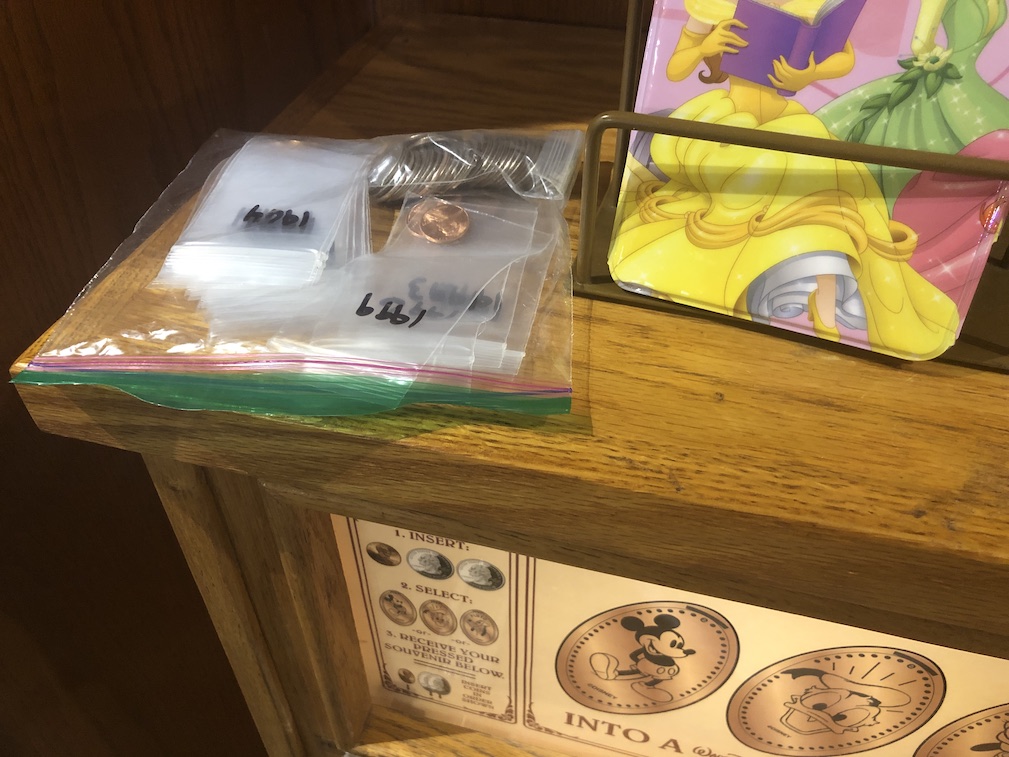
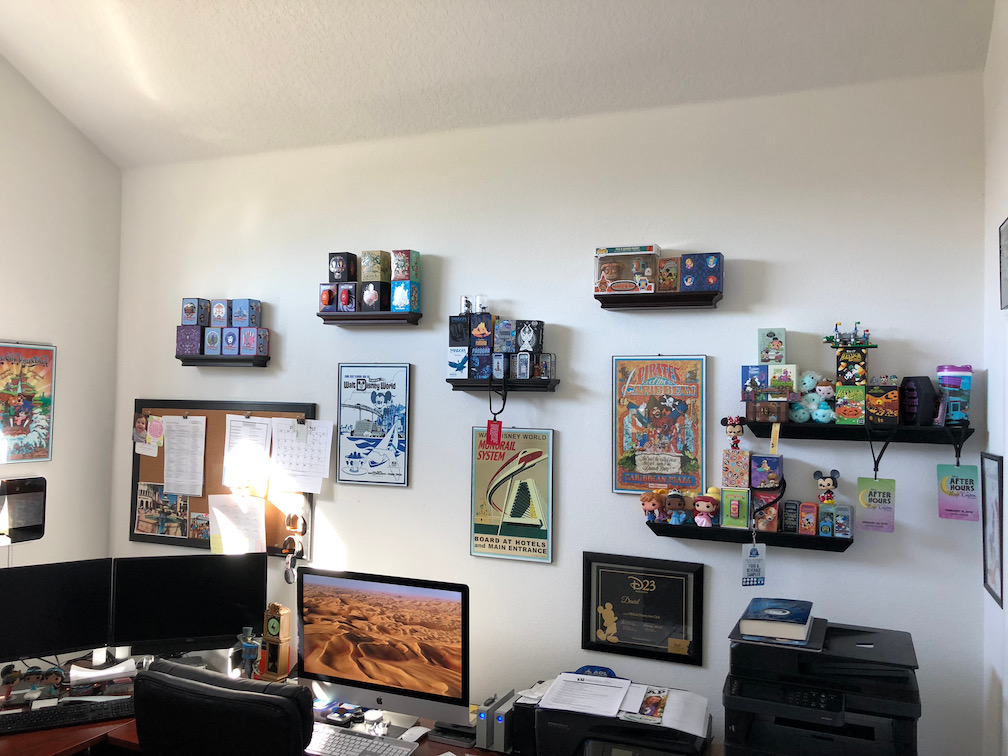
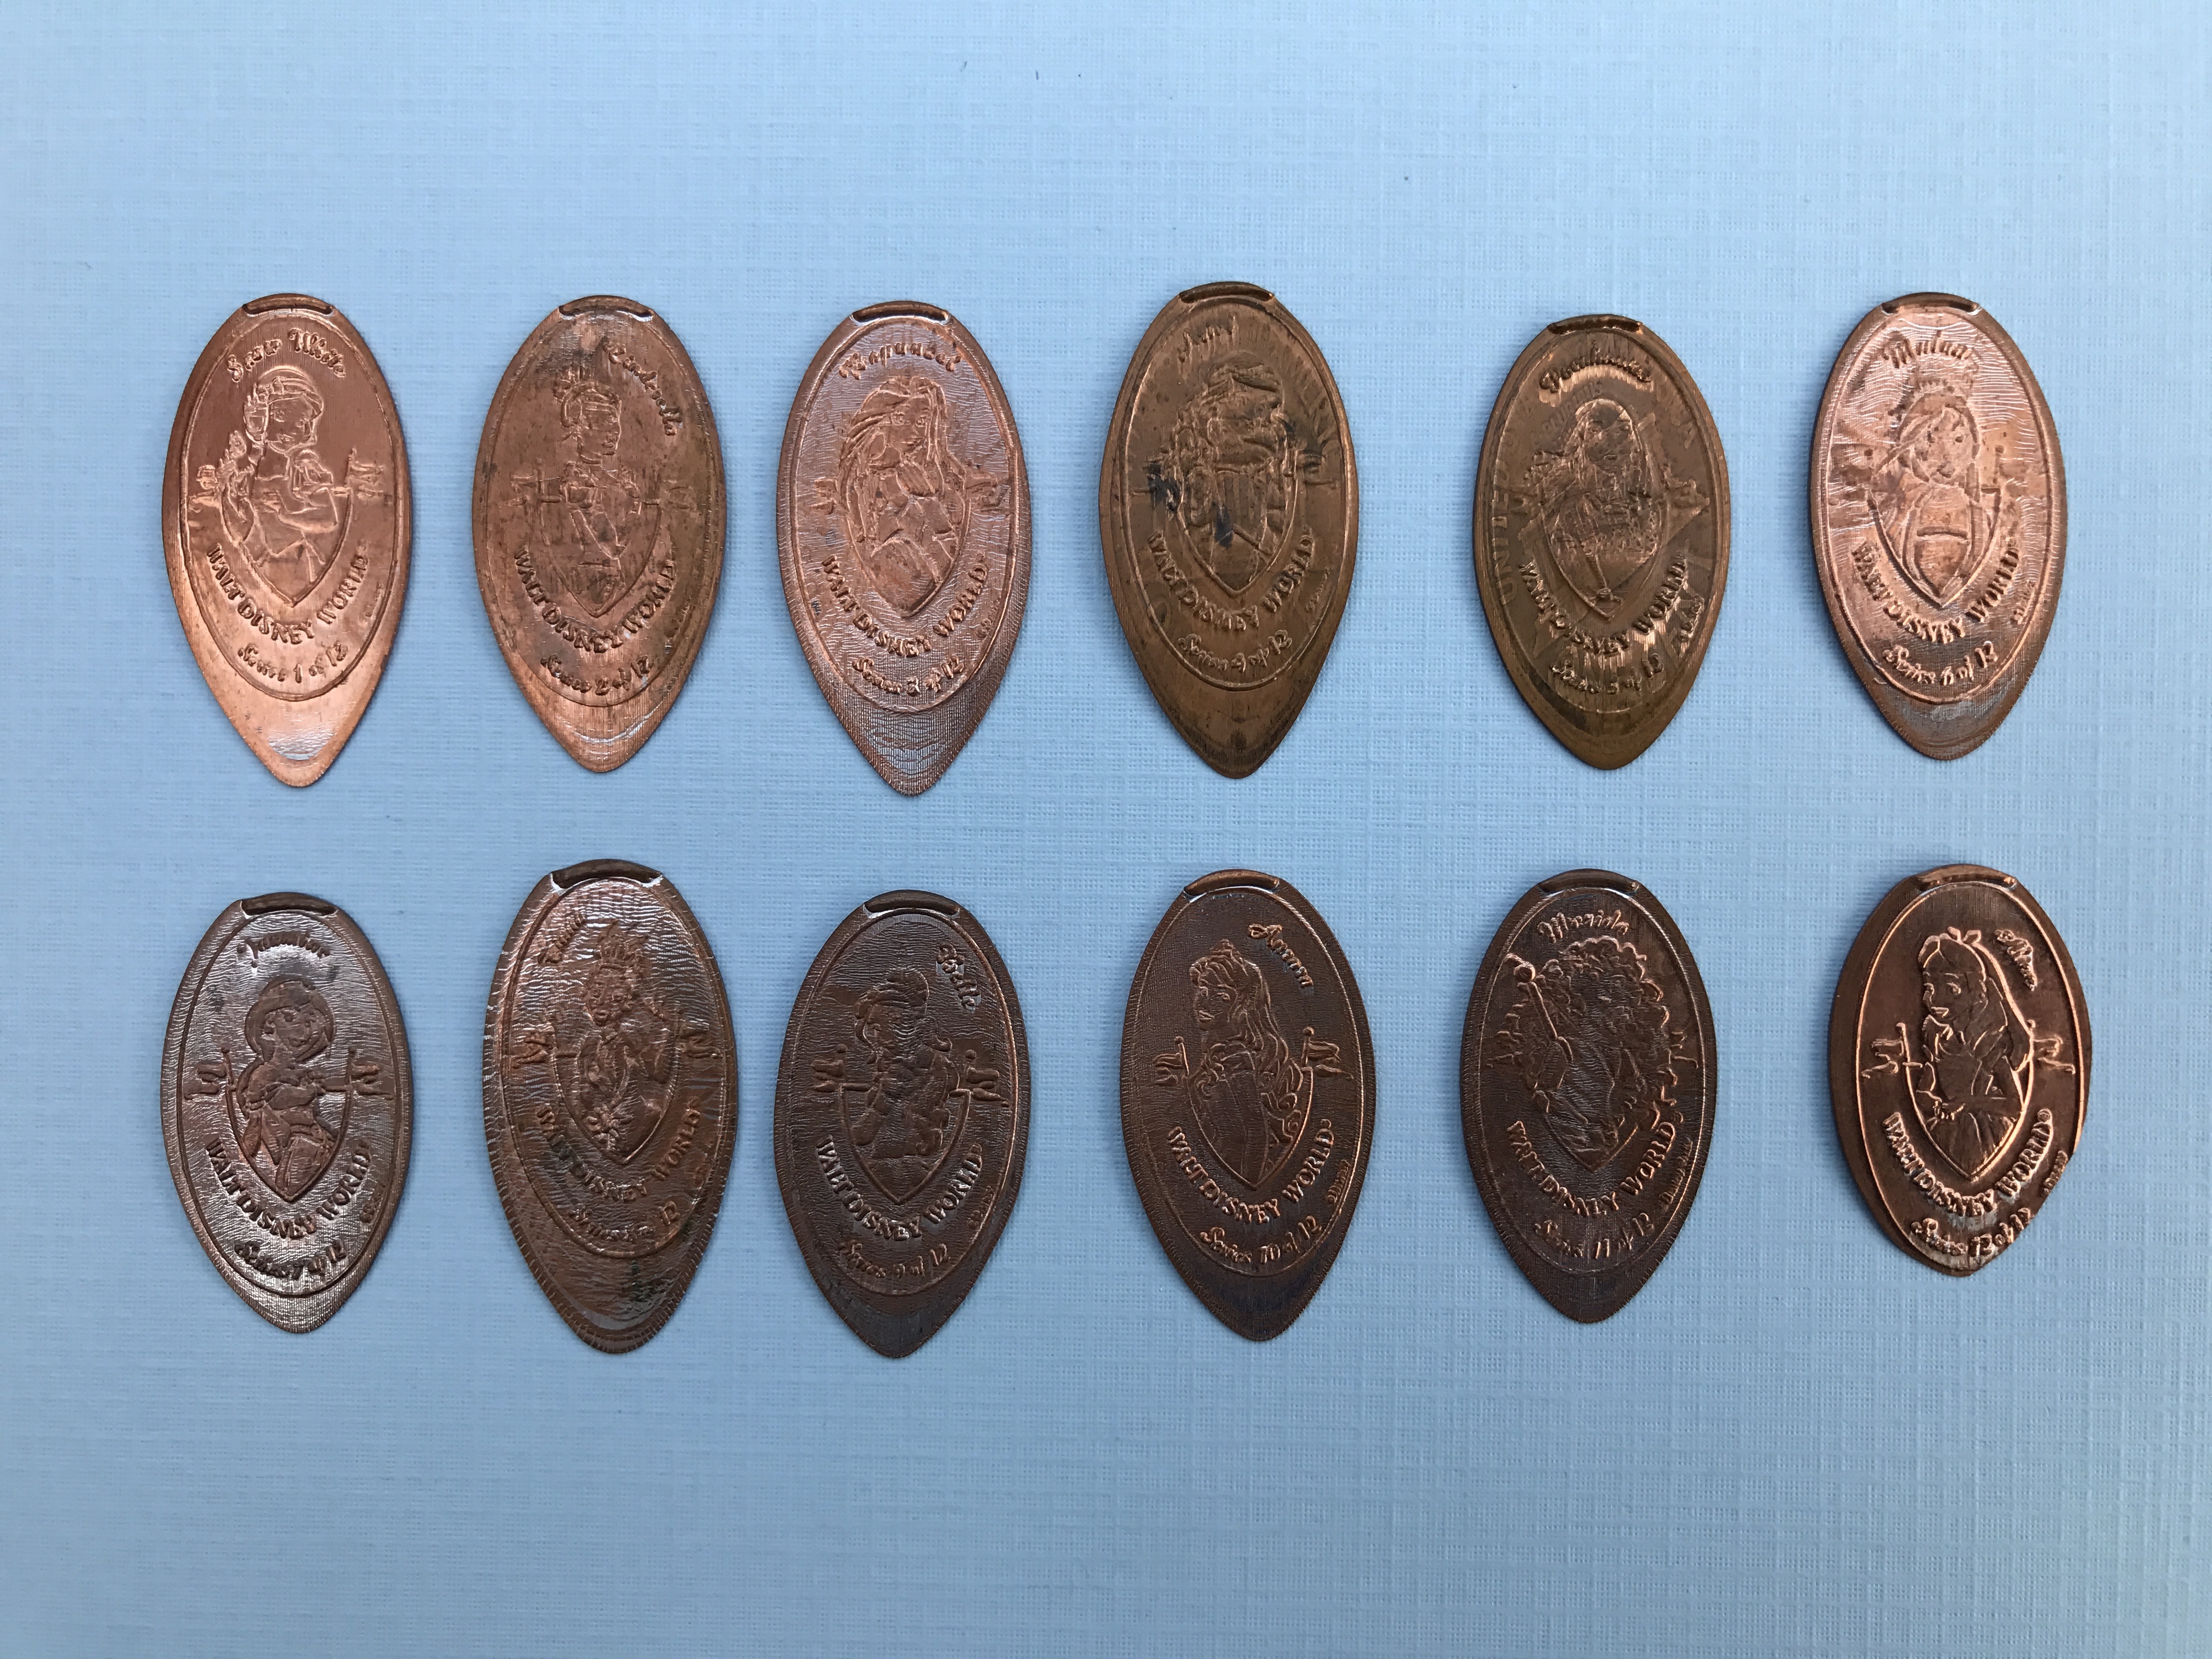
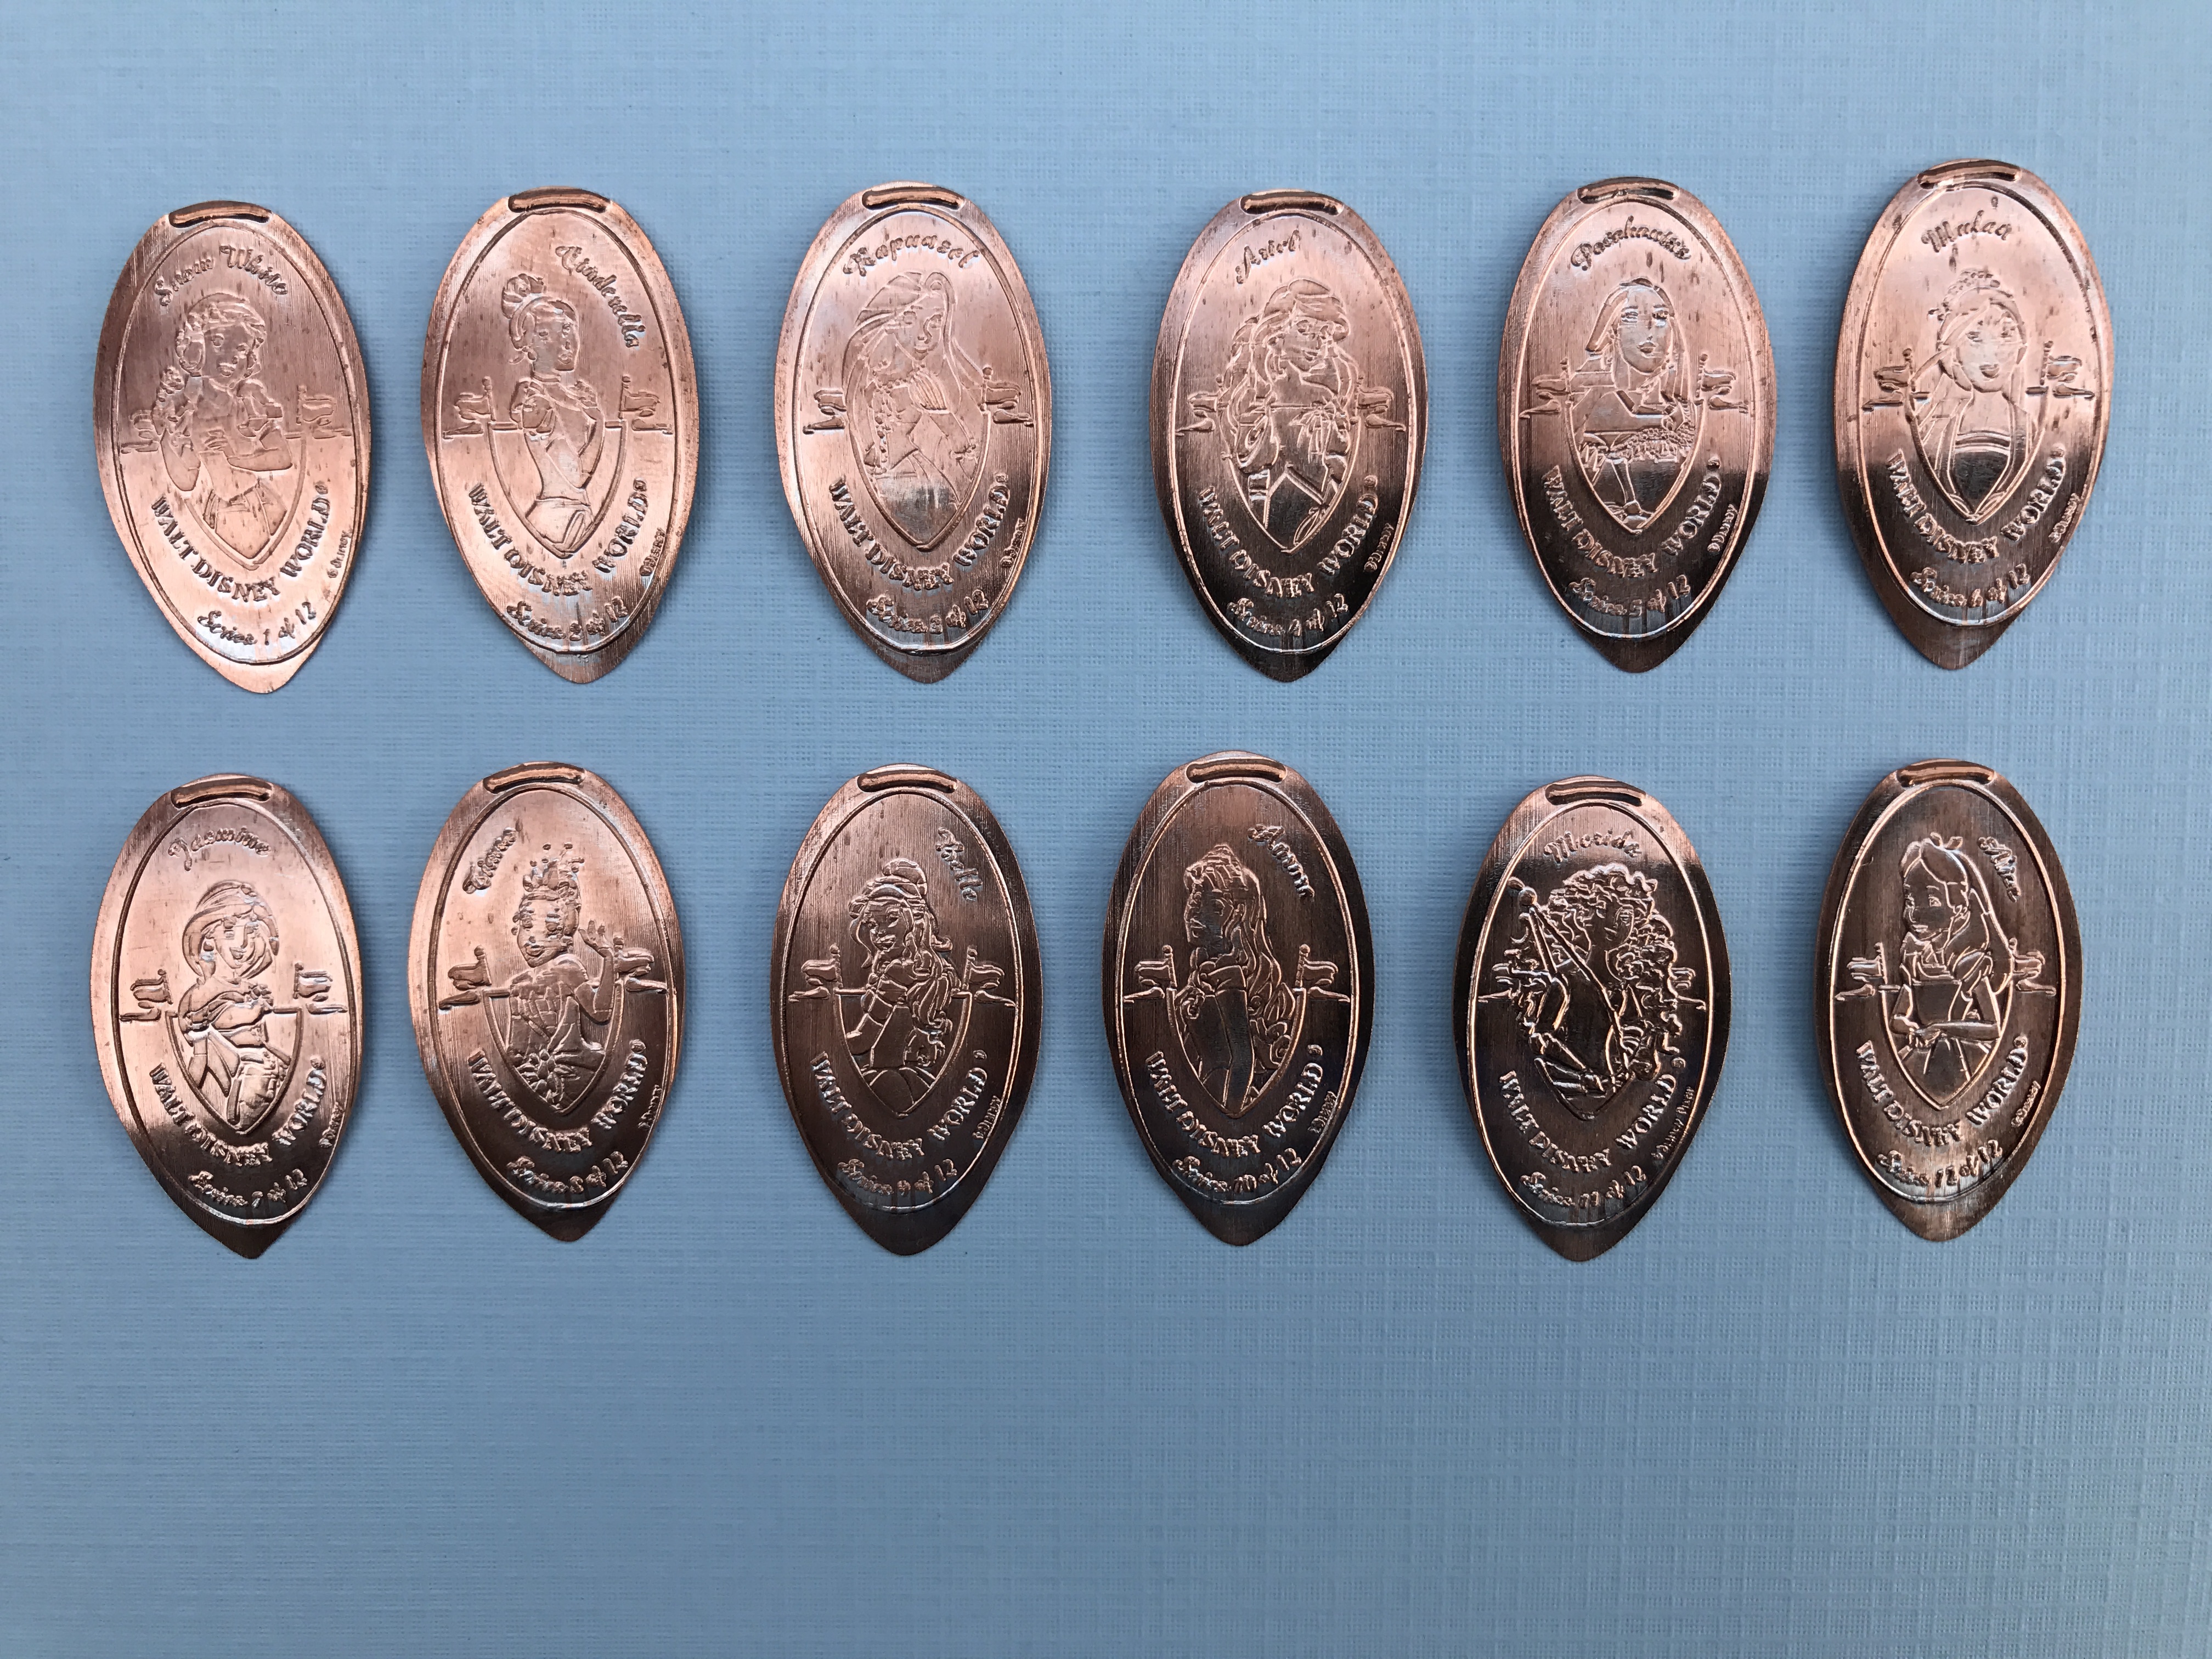
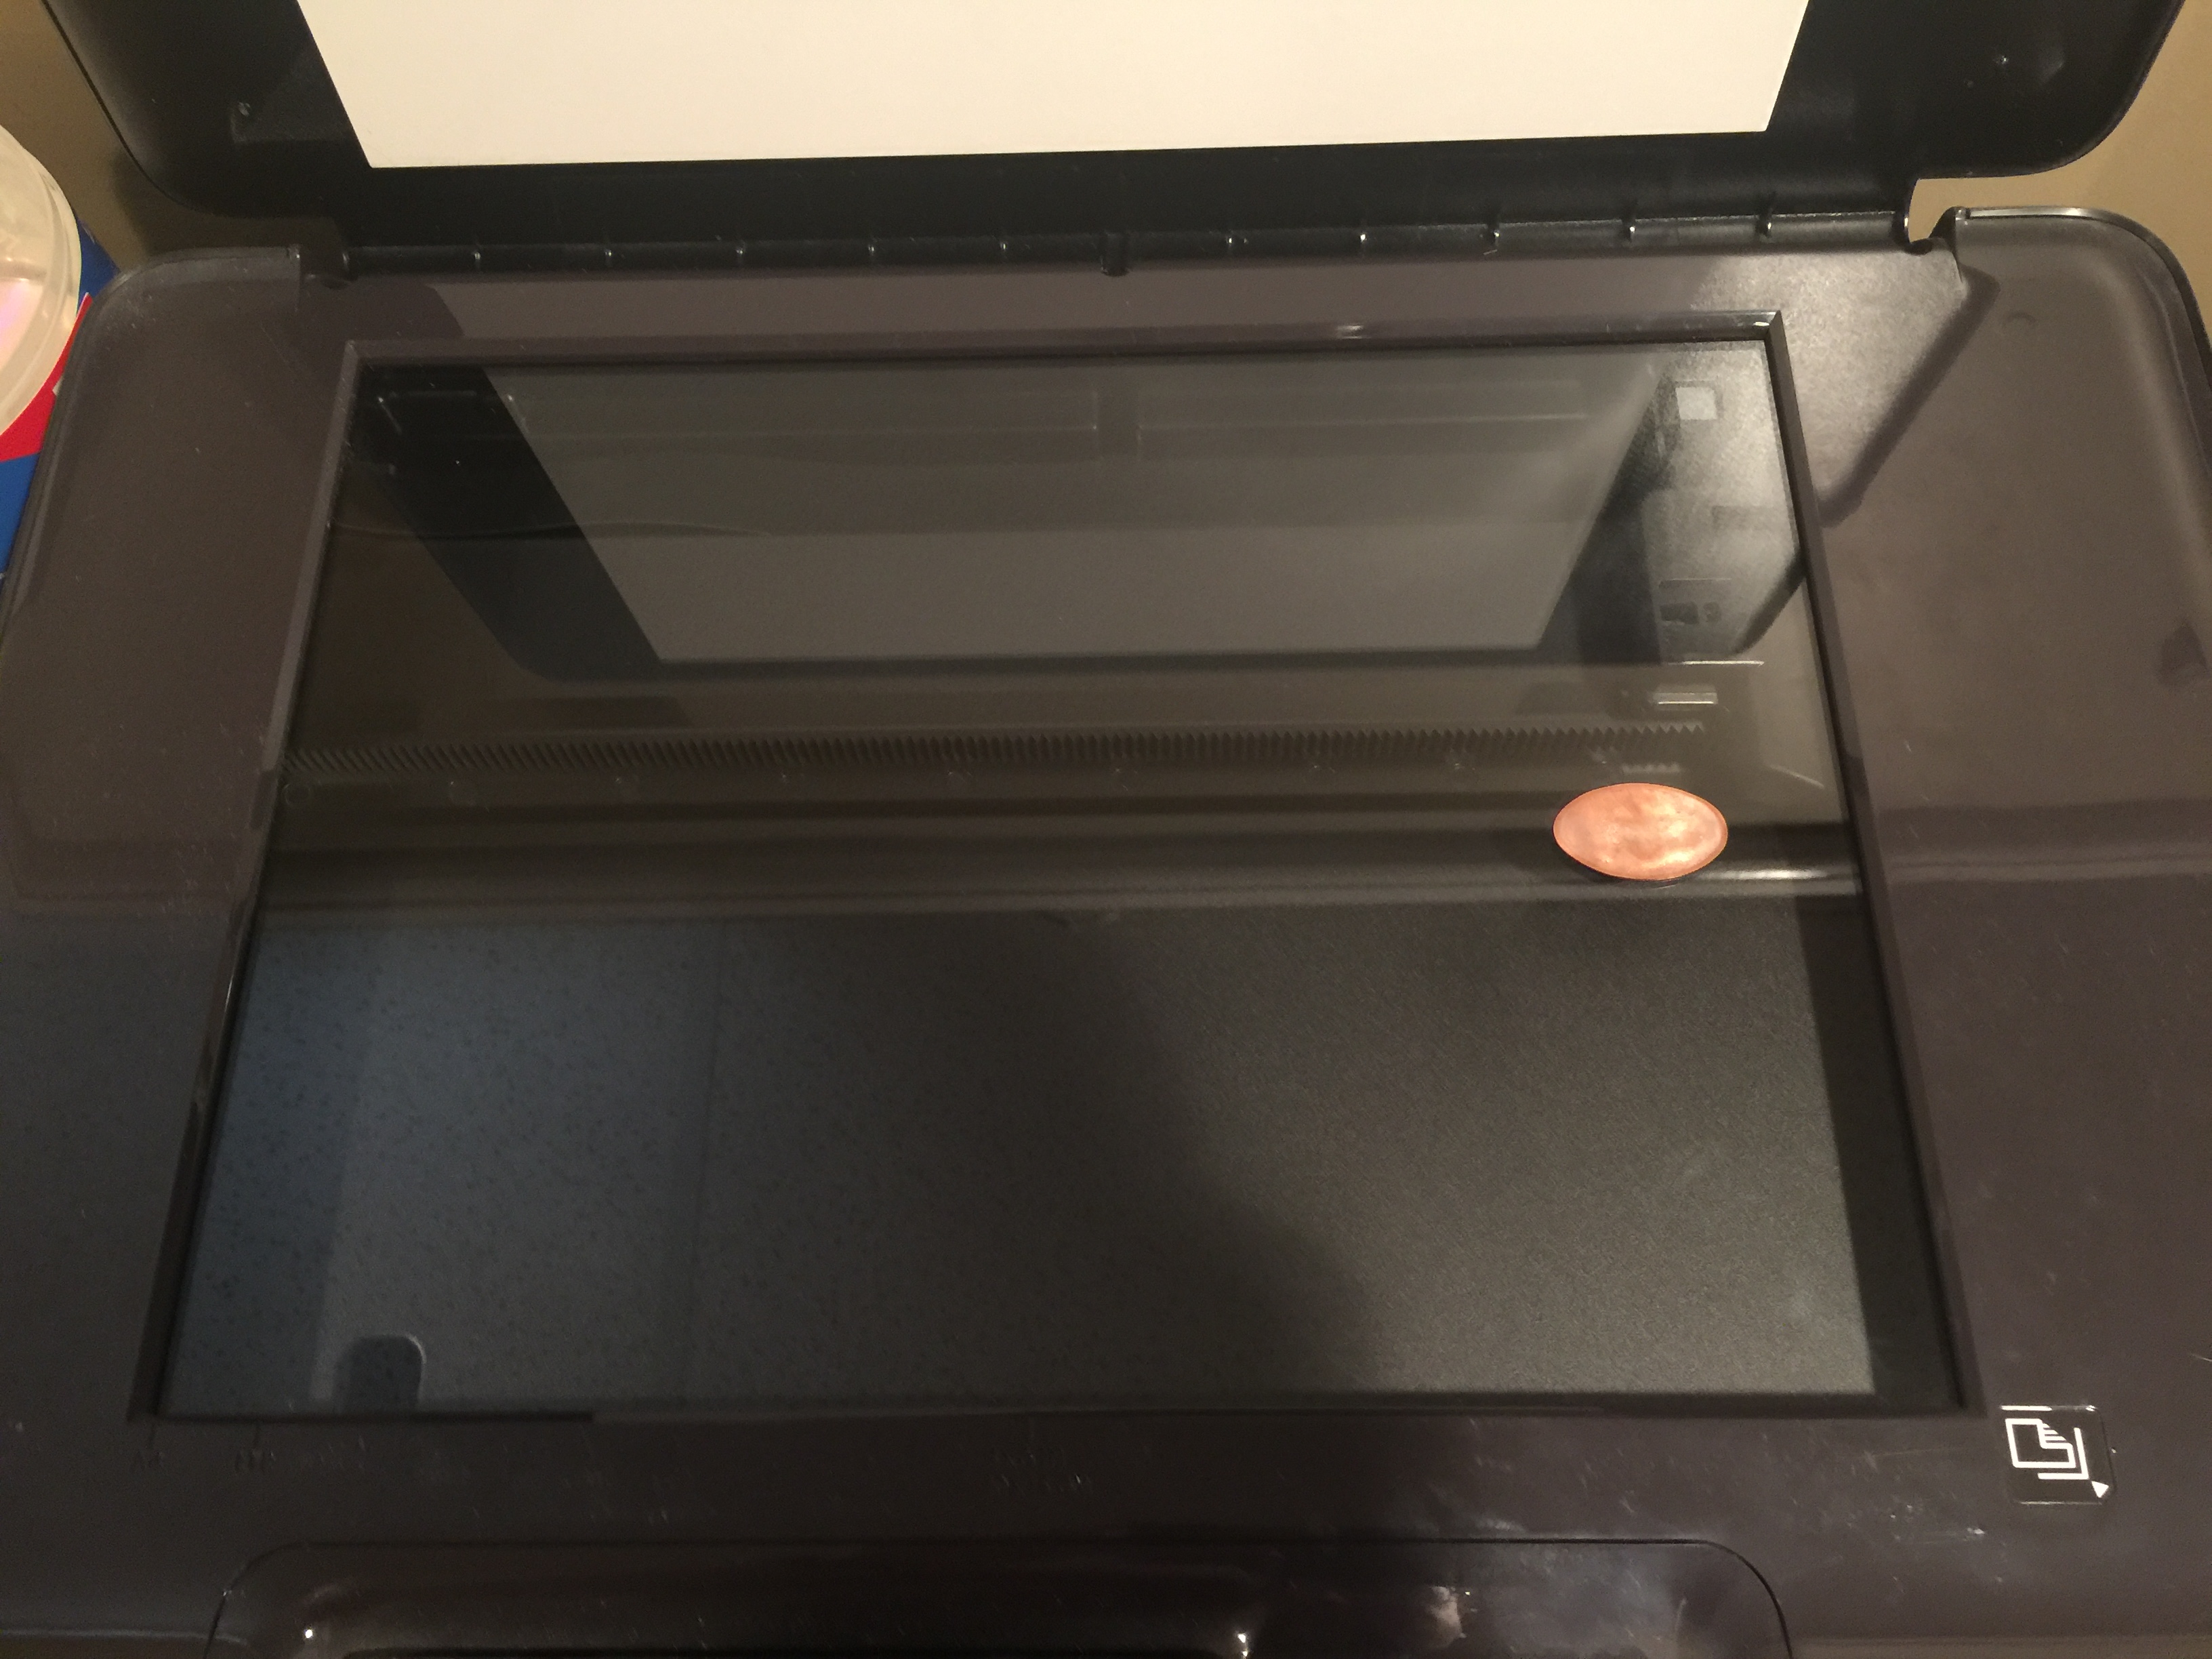
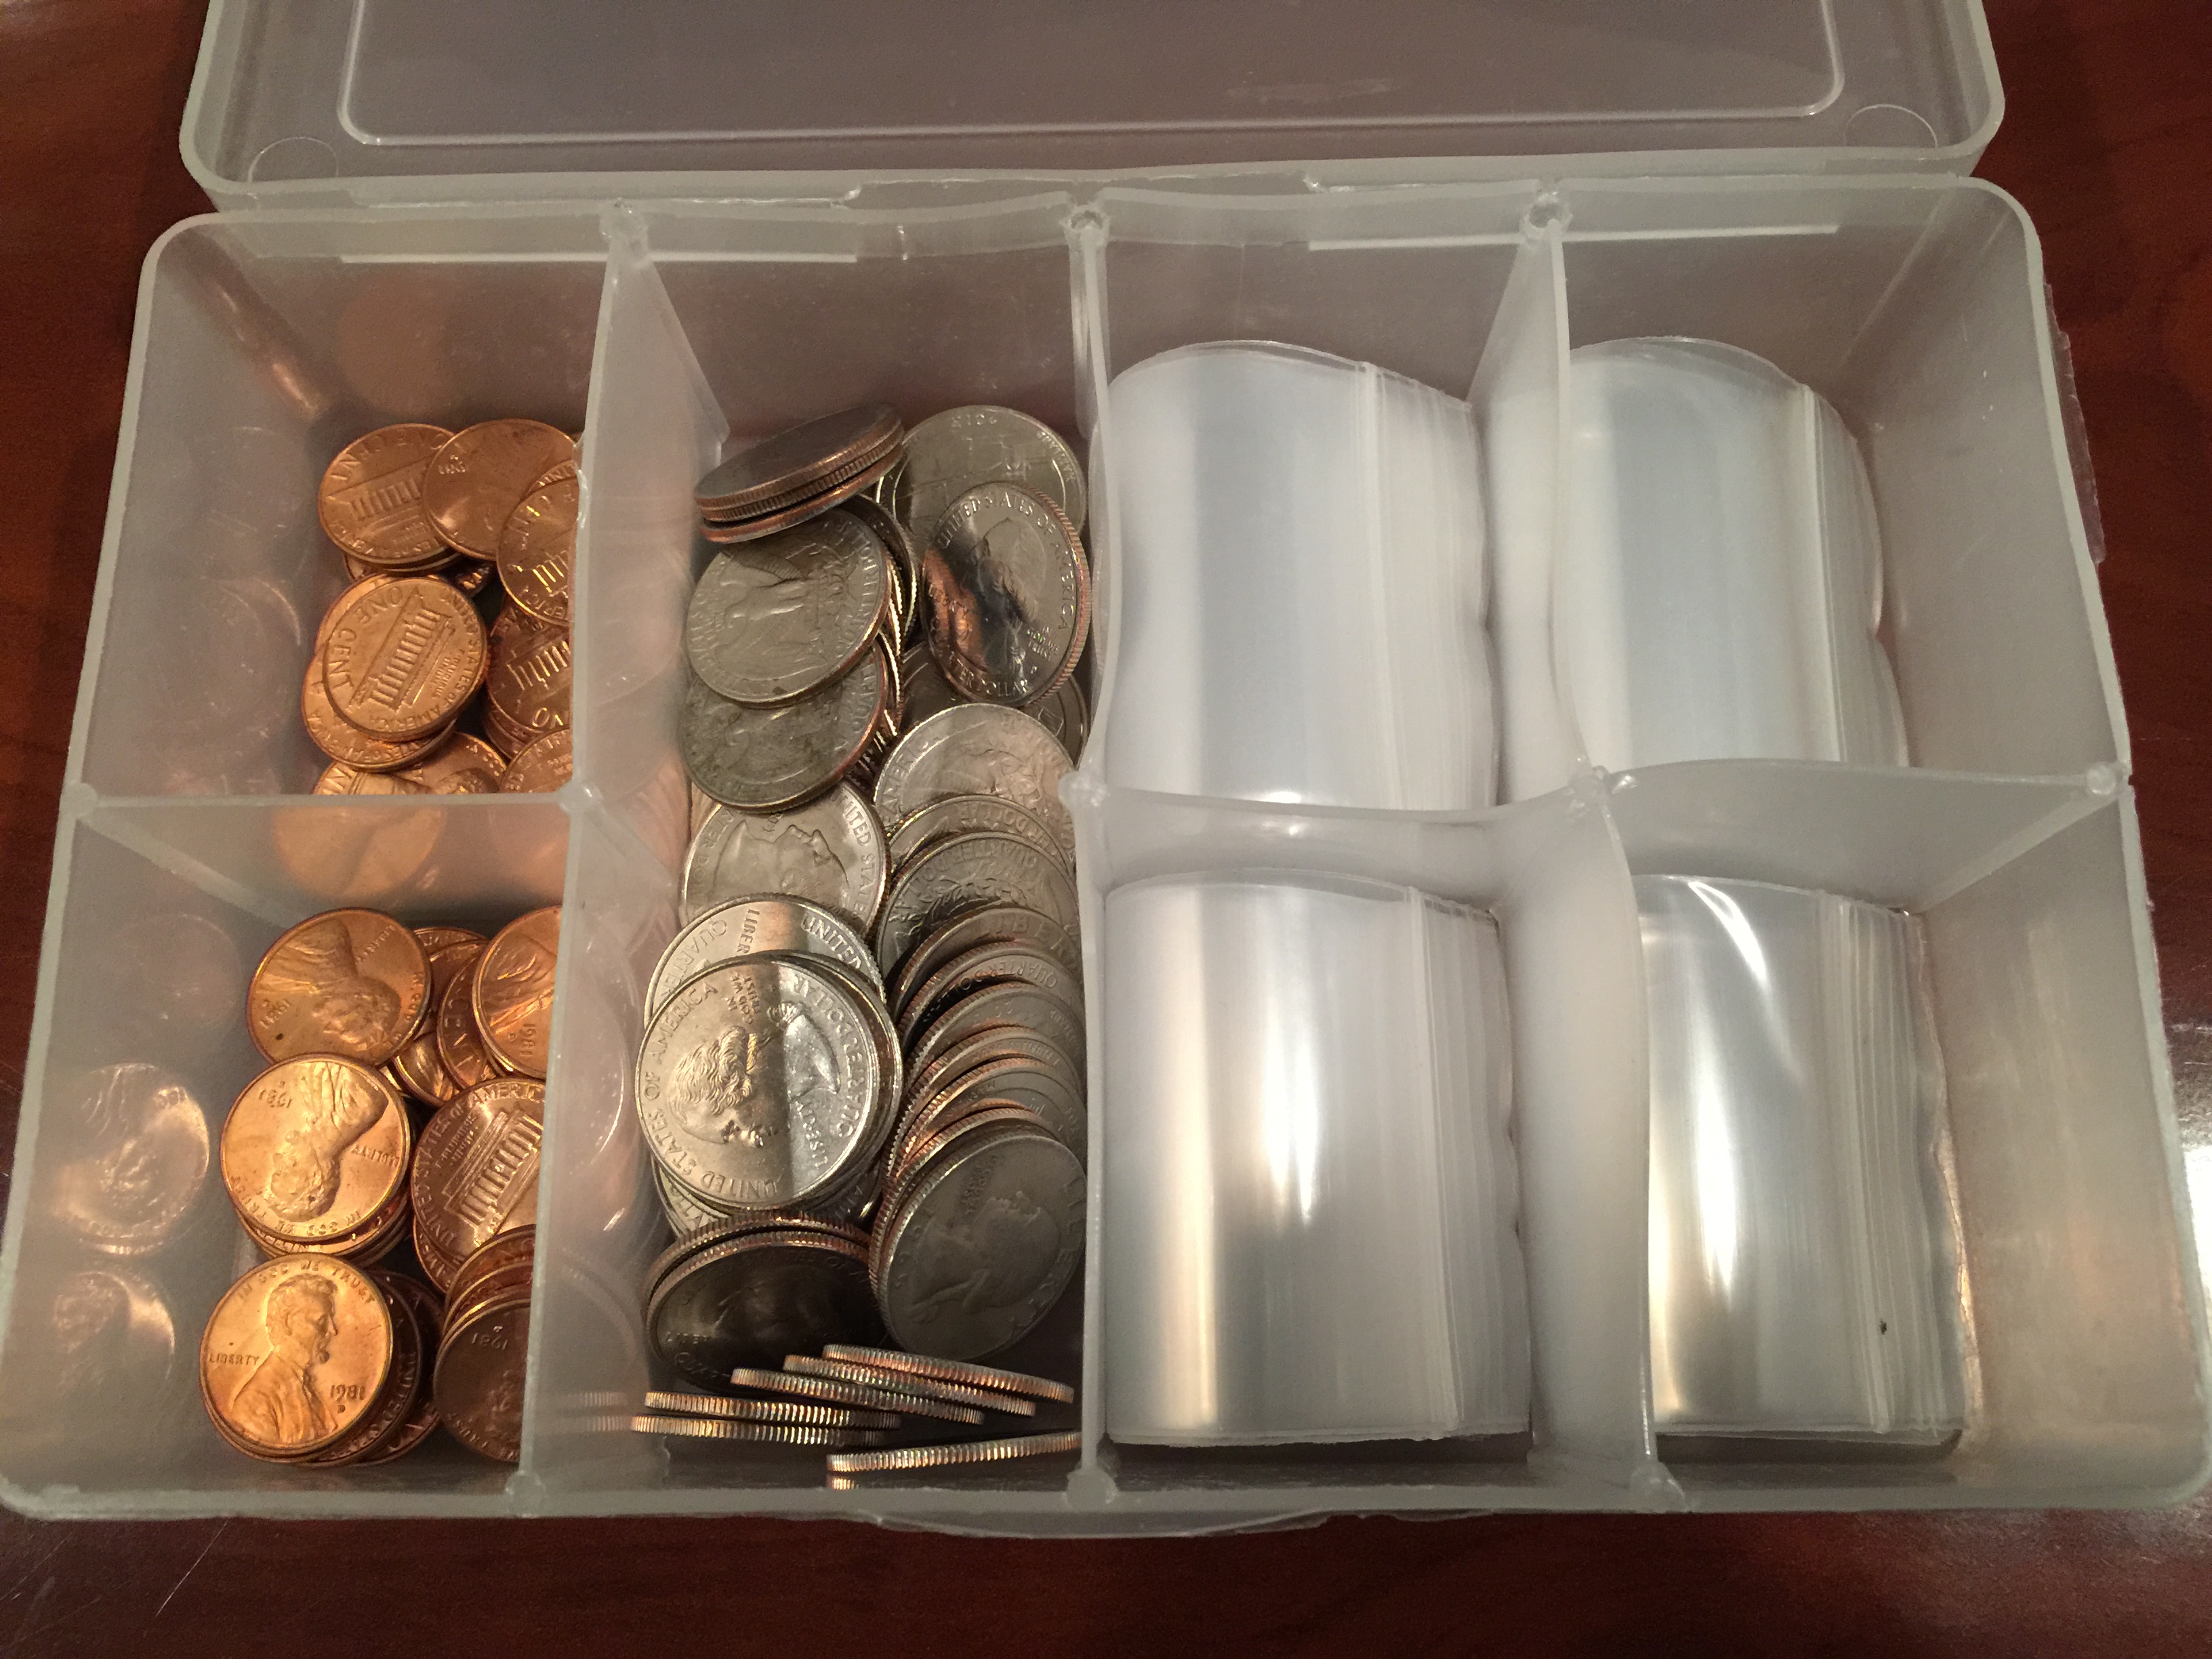
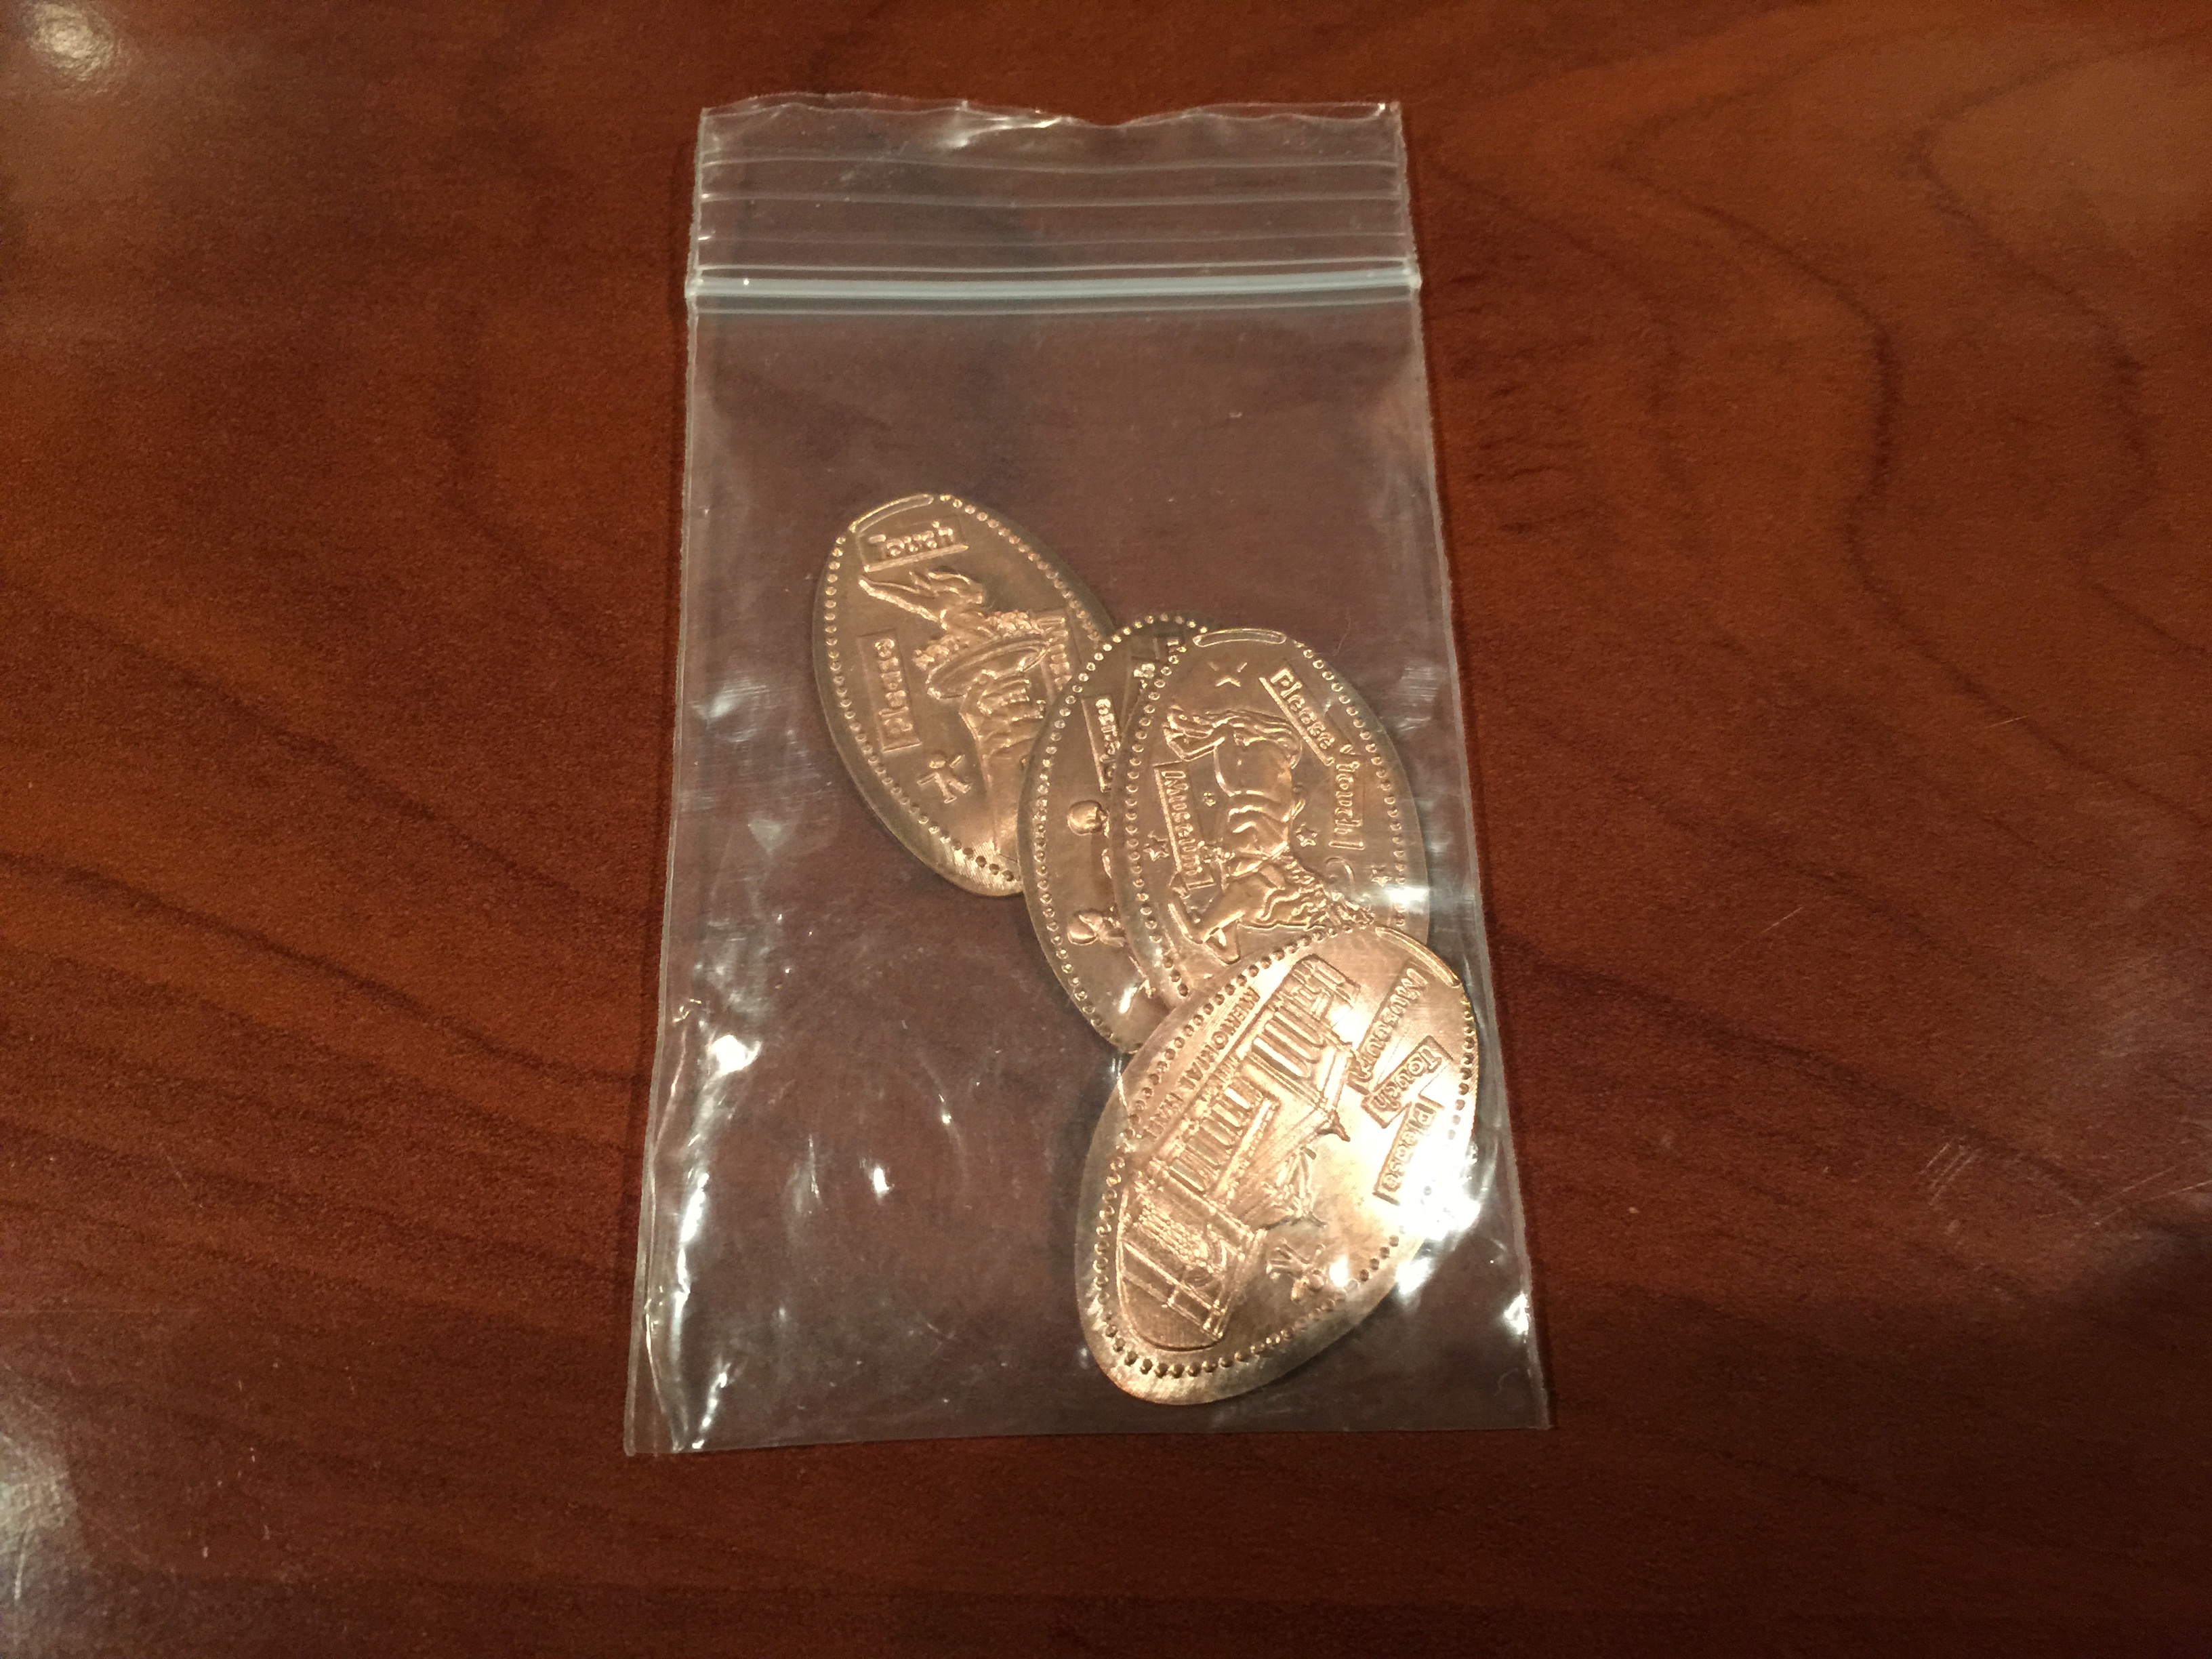
A few weeks before my visit I had placed numerous orders with many coin merchants to get as many Brilliant Uncirculated pennies starting with 1950 all the way through 2020.  I had each penny stored in a separate little baggie with the date printed on the outside so that after I pressed each of them I would know which was which.  I think the Cast Members in the store thought I had lost my mind as I pressed the exact same design 71 times.  But they seemed happy just to have guests back in the store, and I actually kind of enjoyed being able to press some pennies again after being cooped up in our house for the last couple of months.
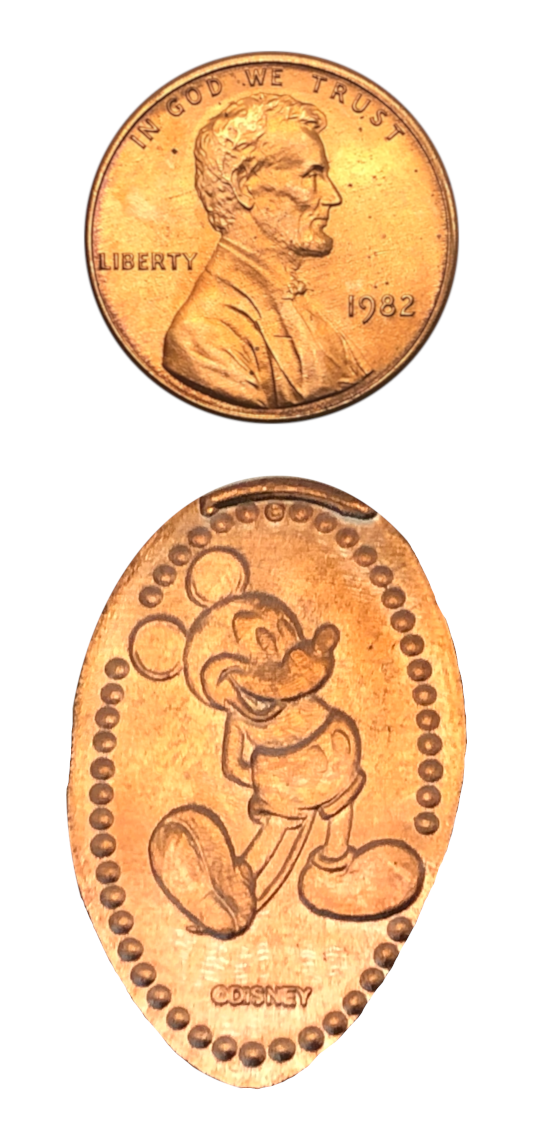
1950 1981 1982 2000 2020

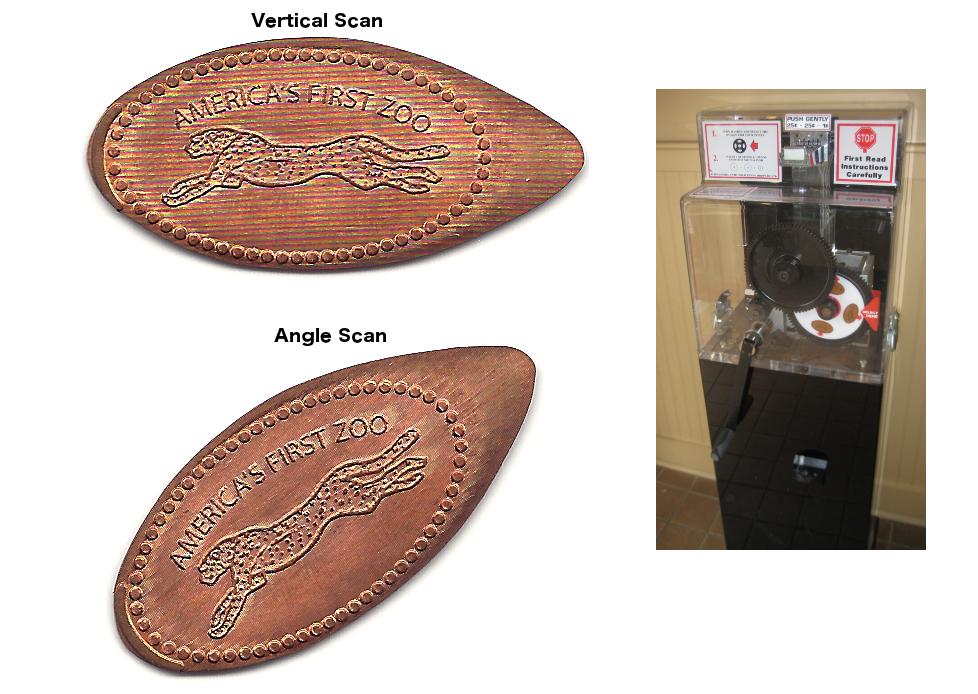
Above is just a sampling of the pennies I pressed for this comparison.  You can click on the images to get a larger image for more detail.  At a glance, they don’t actually look too different.  But when you zoom in is where you start to see some differences.


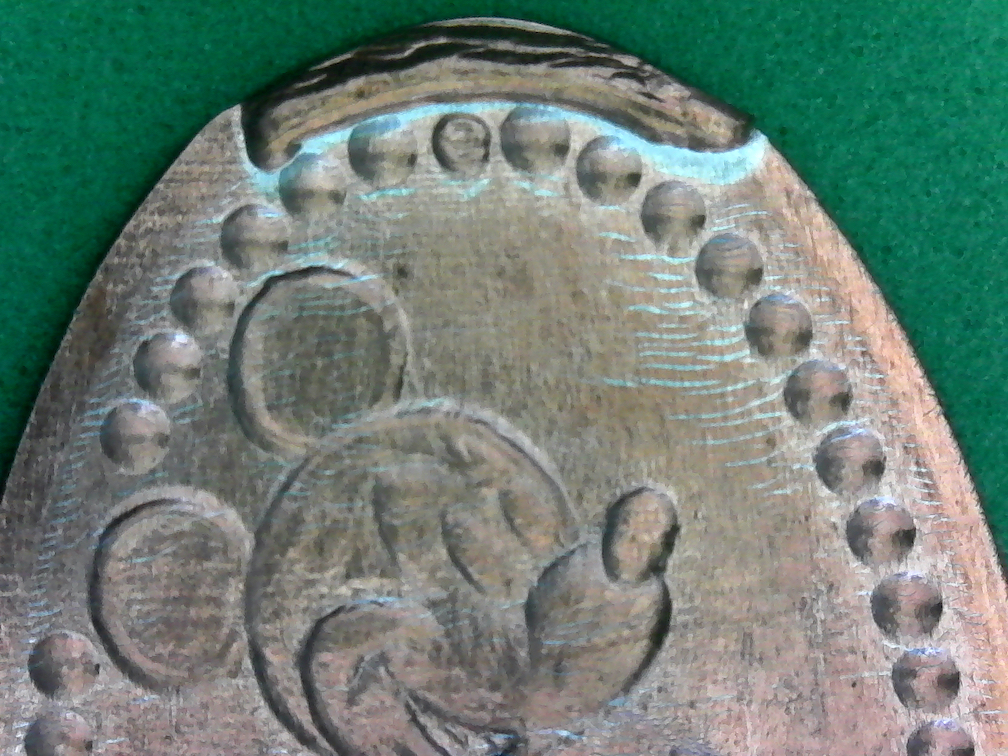
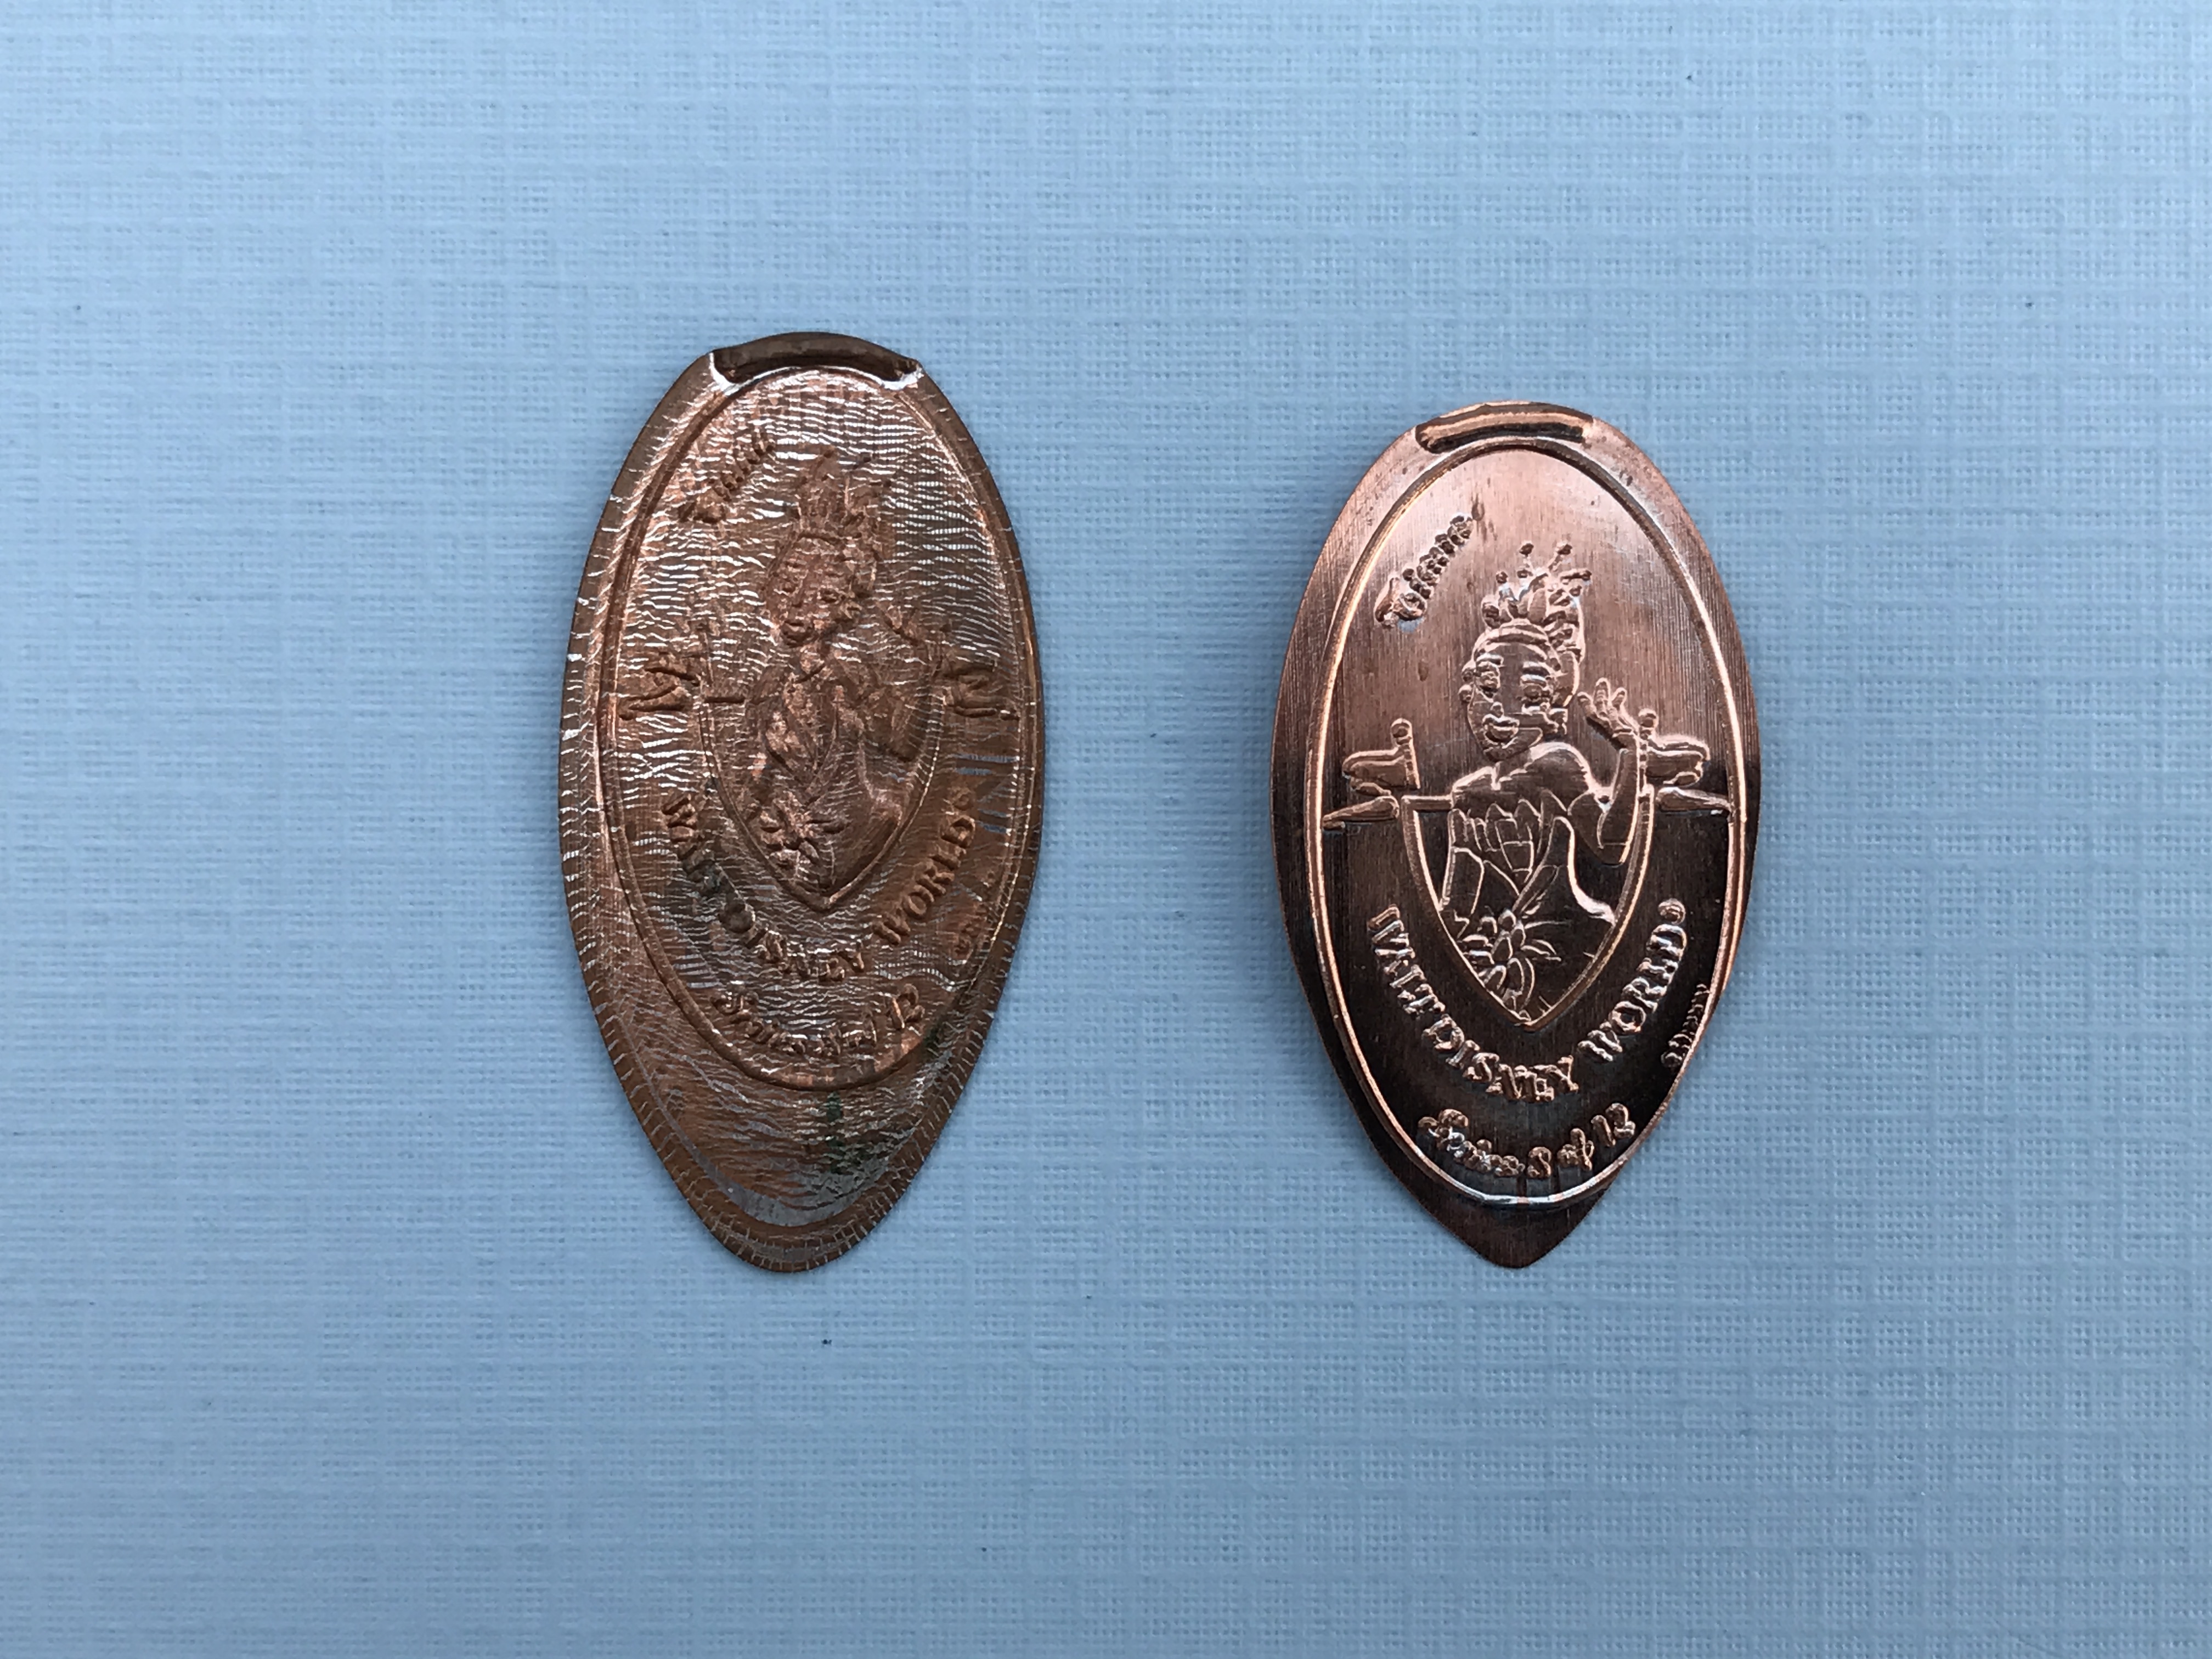
The image above on the Left is a 60x zoom of the 1950 penny, and the image on the Right is the 1988 penny.  That 1988 penny clearly shows those stretch and tear marks on the right side along the dot border.

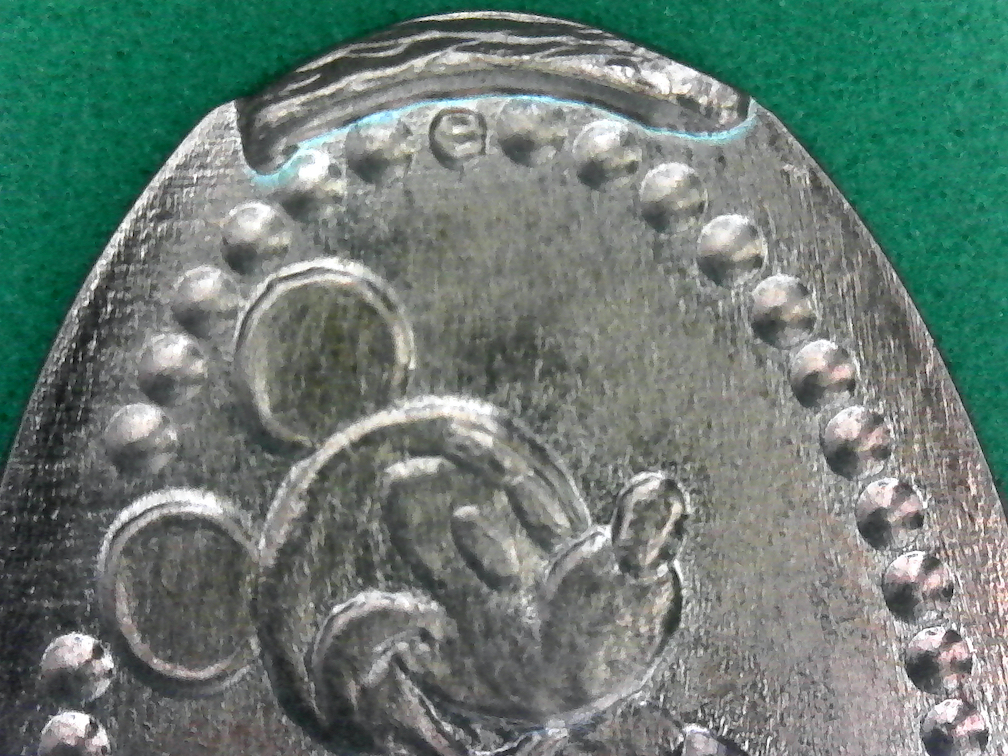
However, this is not a hard and fast rule.  Above I zoomed in on the 2020 penny and there are none of those tear marks.  The penny machines for the most part have been calibrated to try and press with pressure and die configuration that hopefully will work for a wide range of pennies to try and ensure the final product is as good as can be.  For the most part, I do find the pre-1982 pennies work the best and are what I’m sticking with for now as long as I am able to obtain them.

If you would like to check out the full comparison of all pennies from 1950 to the Present year just scroll up to the top of this page and click on “Penny Comparison” from the menu just under the main banner.  Enjoy and keep on smashing!!

Advertisement

davidscointravels Office Tour

A few years ago when I first got this blog started I had someone reach out asking for me to post about my collection.  From time to time I have posted some info about how I store my collection, or how to scan pennies onto your computer but I’ve never done a full tour of my office.  Lately this seems to be a topic quite a few people are interested in but to be honest I never thought it would be all that interesting.  However now that we have moved to Florida the office has become a place for not just my collection, and where I write the articles, or edit the videos but now it’s also where I keep all my Disney collectibles.  Hopefully this sheds a little insight into where all the magic happens.

I do have a full-time job and the blog and penny collecting are just hobbies.  Thankfully I’m able to work remotely and when we were having our house built we took that into account when we designed the office.  This allowed for additional electrical outlets and network connections for not just the work equipment but all the personal hardware too.  The office is at the front of our house which gets a lot of the Florida sunshine beaming in.

  As you walk into the office my wife found me a print of Hipster Mickey enjoying a Dole Whip float which makes me smile each time I walk in.

When we made our move from New Jersey to Florida along I-95 just over the border into South Carolina is the famous South of the Border.  They have gift shops, restaurants and all stores of other things to do.  We took the opportunity to stretch our legs and check out the gift shop.  I came across this wall mounted Tiki art and just had to have it.  This is also where I hang my ‘Ohana leis.

Over top of the storage closet I have some large prints of some historic Walt Disney World construction images.  I always thought it was interesting to see a Monorail train being listed onto the track, or Epcot’s spaceship earth empty inside.

Along the far wall are some vintage WDW attraction posters like Pirates, or the Monorail / Contemporary Resort.  There are more on the other side that we will get to shortly.  Then I have some floating shelves for my Magic Bands, POP Figures and other miscellaneous collectibles.  If you have a sharp eye you may notice the famous “Chosen One” red cards hanging from one of the shelves, this is actually a replica I got off Etsy that I just had to have.

Continuing on this side of the office is my iMac that does all the heavy workload of the blog and video editing for YouTube.  The dual screens in the corner is part of the hardware for my non-penny related job.  I am also a proud member of Disney’s D23  and have my membership certificate framed for display.  My cork board had my calendar, TEC member cards, and our magic bands that we use primarily at the parks.

One year for Christmas I was given a set of coasters that were themed after the Haunted Mansion.  Each one has a different Tombstone poem from the park attraction.  The one I use most of the time is “Dear departed brother Dave, he chased a bear into a cave.”  Also along the windowsill is where I have my Disney Transportation collection.  There is a scale model of the parking lot Trams, Monorail, different Bus designs, and even a small matchbox car of the Test Track vehicle.

On the opposite wall are more attraction posters for Epcot, Tomorrowland, the Haunted Mansion and the Tiki Room.  The larger cork board over here is where we keep a lot of our pins and lanyards from parks like Universal, Legoland and Disney Pin Trading.

There are two bookcases here that store my frequently used equipment and supplies.  There are more of these bookcases in the closet with more binders filled with pressed coins.

The case on the right side had my Hitchhiking Ghosts figure by Jim Shore.  There is also a model of the Disney Dream cruise ship which my wife and I went on a couple of years ago.  I got this model in the onboard gift shop and ended up meeting the Captain who signed it for me.  Below that is where I store the 2×2 plastic binder pages that hold all my pressed coins.  Next are some coin roll boxes for pennies and quarters, this helps ensure I always have plenty of change for my trips.  Then there are the small plastic bags I use for temporary storage of coins I collect, a flat cinch stapler with staples, and my travel case that is usually in my car.

Below that is my Yesterday’s Elongated guide which is a great resource for some older pressed pennies.  There is my main camera the Sony a6000, and my daughters Wilderness Explorers guidebook from the Animal Kingdom.  On the bottom shelf are the 4 and 5 inch three-ring binders for all my Walt Disney World coins, Disneyland coins, a separate binder just for retired WDW coins.  On the right side is my Disney Pin Trading binder, and a book that has all the Disney park maps since the park opened.

The bookcase on the left has my Harry Potter Elder Wand, and my basic magic band collection.  I actually found an acrylic watch display on eBay which works perfectly for these bands.  On the next shelf down I have the small labels I use for each coin, and packages of the 2×2 elongated coin cardboard holders.

The bottom has some of the binders that store my pressed coin collection.  This is my attempt to keep them as organized as possible.  This is an ever-growing collection that I’ve been working on for years.  I prefer to collect coins at places I have actually been to and pressed in person.  But I do have a lot of friends around the country that know of my obsession and love to send me their local coins as gifts and I cherish each one of them.

See what did I tell you not too exciting, but it’s where I do all the work to share this hobby with everyone.  It’s my sanctuary where I can enjoy the things I love, and help keep my collection organized and from getting too out of control.  Now it’s time to pull the curtain back across the room and get back to work.

In Character Shop 2015 / 2016 Coin Comparison – Hollywood Studios, FL

Last year (2015) I had written about my family vacation to the Walt Disney World resorts and even had a special post about a new milt-design machine that had just been made available.  At the time this was a first of its kind offering 12 designs all in one place.  You can read out my experience with it here.

img_0796

This year we went back for a Wedding and obviously took some of our spare time to enjoy the parks.  On the day we visited Hollywood Studios I stopped back at the In Character Shop to see if the machine was still there and press another set.  When the coins dropped out I was taken back a bit.  My recollection of the first set I had pressed in 2015 was that the pre-loaded pennies were not the greatest and resulted in terrible final results.  This year (2016) however the coins that dropped out were much nicer.  I wanted to take this opportunity to compare the two and let you see the vast difference.

img_0793

First up is just a glance at the fancy machine.  The cabinet has not changed since the previous year.  As far I know this is still the only machine that offers 12 designs.  There are quite a few of these multi-design machines now available but they all have stopped at 8 designs.

img_0794

The designs at this machine are a numbered series as part of the Heroines collection.

hs-in-character-store-old

Pictured above is the set I had collected back in 2015.  As you can see many of the coins are tarnished, and almost impossible to see what the actually pressed image is supposed to be.  A couple of them I was only able to figure out due to the process of elimination.

hs-in-character-store-new

Now shown above is the set I just collected a few weeks ago in 2016.  These are much brighter, shinier, and the pressed designs came out much better.

hs-in-character-store-compare-01

I tried to get all of them in one shot.  The 2015 coins are on the top and the 2016 at the bottom.  You can see there is definitely a difference between them.

hs-in-character-store-compare-03

Another few close up examples.  This image shows Tiana from Princess and the Front.  Left is the 2015 press, and the right is 2016.

hs-in-character-store-compare-04

This example shows Merida from the movie Brave.  2015 is on the left and 2016 on the right.

Initially when I used the machine in 2015 I was a little disappointed that I couldn’t supply my own coins.  As a pretty serious collector I always like to use pre-1982 pennies which I have written about before.  These are the coins that actually had a larger amount of copper in the coins as opposed to post-1982 coins which are mostly zinc with a thin coating of copper.  The older coins result in a much better final product, versus the newer zinc coins can have some stretching which distorts the designs.  But thinking about how these new multi-design machines work it does seem like it may be difficult or take way to long to give the user the ability to supply their own coins in this quantity.  I do wish that they had used some nicer pennies back in 2015 just due to the poor final results I had and I’m sure many other people had at that time, but I’m sure that would obviously increase the production cost and most users may not necessarily be as concerned.

I have noticed over the last year since using this machine, many more of these multi-design machines have popped up and each of them now seem to use a blank token instead of pennies.  But hopefully from the comparisons above you can see that these tokens, even though not my first choice, are at least a better option than what was initially tried in these machines.

How to scan your pennies

Every so often I get messages from readers asking about how I scan my pennies onto the computer.  For this blog I actually don’t scan but instead just photograph them, and to be totally honest I don’t have a fancy professional camera but instead just use my smart phone.  The cameras on the latest phones are really pretty good and it saves me having to buy any additional hardware.  But for my website and the database on my computer that I use to inventory my collection I do like to scan the pennies as I can more easily edit and manipulate the pictures for the purpose I need.

Scanner 01

As you can see in the above picture I have an all-in-one printer/scanner/copier made by HP (Hewlett-Packard) and the model is Photosmart Premium c309g-m.  Don’t let the multi-function unit fool you there really isn’t anything special to this machine.  When I bought this 4 or 5 years ago it was probably around $200.  I don’t know if this model is still available but these types of units are always changing and I’m sure there is something similar out there.  But this doesn’t mean you have to use this exact unit and now a days unless your scanner is more than 10 years old most scanners will be able to handle capturing your coins.

Scanner 02

Once you are ready to start scanning there is always some discussion about where the coins should be straight up and down (vertical) so the scanner will pass the coins horizontally, or if the coins should be at a slight angle.  I’ve done a few tests below so you can see some of the differences.

Penny 01 Compare

Above is a comparison of a coin pressed on a pennycollector.com machine.  You can click on the above image for a larger view to compare the two scans.  Please note these images were scanned separately and I combined them for easier comparison.  In my experience the pennycollector machines for the most part roll really nicely with even pressure that makes for a great final product.  When scanning coins from these machines if the coin is fairly flat (I’ll get into this more below) the scanning doesn’t change much and I don’t see that one way is considerably better than the other.

Penny 02 Compare

Next is a coin that was pressed on a RockyRockhold machine.  As you can see in the vertical scan there are some very noticeable lines that show up.  My only guess is that this type of machine presses the coins in a way that causes them to stretch more.  I know these machines usually require a little more arm power to turn and I don’t know if this causes inconsistent pressure on the coin or if it’s just the type of die used in the machine.  Whatever the reason I always find that coins from these machines get these lines on them when scanned.  Now take a look at the angle scan and you will see that the lines are not as noticeable.

Bent Curved

Another common issue I get with some machines is curving of the finished pressed coin.  I don’t usually worry about straightening them but it does make a difference when scanning.  When trying to straighten a coin I’ve tried a few different methods and the one that works best for me is just using a pair of needle nose pliers.  I gently apply press to the curved section of the coin and try to bend it straight.  This is a risky thing to do as you can bend it too far in the opposite direction, or more common I find is you get a crease on the coin that is pretty hard to ignore.  For this example I had an extra coin and in the above picture you can see the original coin on the left had two curves to it, and on the right was after I attempted to straighten it.

Bent Curved Compare

The above image has several comparisons.  On the eft I have the original coin with the curves and you can see a light area in the middle of the scan (between the two curved areas) which is where the scanner light reflected more than the rest of the coin.  Now in my opinion this isn’t completely terrible and I would probably be okay with using it for my records especially since I don’t link straightening my coins.  For the sake of science I bent the coin to show the difference which is the set of coins on the right.  I also included the vertical scans and angle scans for a complete comparison.  The straightened coins don’t have that light bands running through the middle and in my opinion the vertical scan seems a little more detailed.

DPI Comparison

Now lets talk about scanning resolution.  This is primarily listed by what is knows as dpi or dots per inch (also sometimes listed as ppi which stands for pixels per inch).  I scanned one coins which you will see below in 4 different resolutions and combined them in the above comparison image.  The lowest I tested was 72 dpi and when up to 1200 dpi.  My scanner could go higher but for these types of scans really aren’t necessary.  As you can probably guess the more dpi you scan at the more detail (dots/pixels) there are in the final image.

Penny 04 72 dpiPenny 04 300 dpiPenny 04 600 dpiPenny 04 1200 dpi

The above images from left to right are the same penny just scanned at different resolutions.  Starting on the left the images are 72 dpi, 300 dpi, 600 dpi and finally 1200 dpi.  Clicking on each image above you can see how the detail is so much better with the high resolutions.  However this comes at a cost when it comes to file size, it should come as no surprise that the more detail in an image file the larger that file will be.  In the images above I also included the size of each file.  Years ago computer hard drive costs were very expensive and may have because a major factor in the resolution you would need to scan large quantities of images.  But today the cost of storage is pretty cheap, and there are even some online cloud storage solutions that give you huge amounts of space for free.  For me, even though file size isn’t really a factor I find that I scan my coins at 300 dpi.  This gives me enough detail for what I need, anytime more than that is really overkill at least for what I use.

pngjpg

The last topic I wanted to review was file type.  There are numerous different file types that are associated with digital pictures (JPEG, PNG, GIF, TIFF, BMP etc).  In my examples I’m only really going to go over two types JPEG (Joint Photographic Experts Group) and PNG (Portable Networks Graphics).

JPEG’s compresses (shrinks) image data by reducing sections of images to blocks of pixels.  This type of compression unfortunately is permanent and when you zoom in close to these types of files you will notice some blurring around edges and transitions between colors.  But this file type was created for storing large photographic images in a small amount of space, and was not intended for photo editing purposes

PNG was developed to use a different compression algorithm (fancy word for the steps a computer takes to perform a task) than what is used for JPEG’s.  PNG supports 24-bit RGB color palette just like JPEG, but there is much better compression without degrading the image quality.  However, PNG is not supported by all internet web browsers although this is primarily only an issue for older browser versions.

Penny 05 PNGPenny 05 JPEG

In my last comparison above these are both the exact same scan just saved as a PNG on the left, and a JPEG on the right.  As you can see these are pretty similar even when you blow them up to a larger scale.  If I was forced to choose I tend to go towards the PNG which is what I have been saving my images as lately.  Most of the pictures on my website are JPEG’s, but I have over time slowly been converting them to PNG’s.

As with anything all the above comparisons are subjective to the viewer.  What I think looks better may not be what you prefer and that’s perfectly fine.  All I can say is do some tests of your own and see what comes out best for you.  I hope this helps in some way, it did take some time to set up and perform the tests but was it fun in its own strange way.  Good luck scanning.

Coin Collecting Packages for my Friends

It’s finally happening.  The cold weather is slowly starting to leave us here in Jersey.  This is the time of year that a lot of us collectors look forward to as we can start planning our trips for new pressed coins.  I usually get a little over zealous and have trips scheduled for most weekend along with at least one week-long trip somewhere.  But then reality strikes and some of the short trips need to be bumped or canceled.

Something else that also starts to happen at least for me is that my friends and family start to let me know about trips they are taking.  They know of my pressed coin collection and don’t seemed to concerned about being enablers and feeding into the obsession.  Deep down I think they actually like the adventure of finding the machines and using the machines but they’ll never admit it.

The downside of this knowledge is that I can easily go overboard requesting they collect every coin within a 100 mile radius.  However I really do feel guilty sometimes as I know how my own vacations are schedule and there isn’t always a lot of extra time available.  Usually I end up just picking a few machines that are as close to where their hotel is or a theme park, zoo or other attraction they are already visiting.  I never want them to have to make a special trip just to use one machine that worst case scenario may be out-of-order.  Over the years I have come up with different ways to ensure my friends and family have enough coins to press, and now even take the time to get images of the coins I’m looking for.

Caribbean Rst 01

I’m mentioned in the past that my parents are big New York Mets fans and go down to Port St Lucie in Florida for Spring Training Baseball season.  This years trip has them in Port St Lucie for the first half of their trip and then they are heading to Orlando.  The picture above is of the package I created for them as they informed me they would be staying on Walt Disney Property for a few nights at the Caribbean Beach Resort.  Everything is put into a gallon size ziptop bag for easy storage and can just be placed in their luggage.

2016 Caribbean Beach Resort Map

One of the first things I did was do a google search for a copy of the resort map.  I use just basic photo editing software on my computer.  As you can see above I then insert boxes with the locations of each machine and some details about the coins located there.

Coin Bag Inserts

Next using my computer’s word processor I create the above table.  This is really just to help keep everything spaced and organized.  In each box I list the location and then grab a picture of the coins from various websites available online.  Once printed I then cut out each box and insert it into little ziptop bags that have the appropriate number of quarters and pennies needed for that machine.

Caribbean Rst 03

In the past I know my friends and family mean well but sometimes a location would have multiple machines and they didn’t always understand my hand written notes.  This was something I started doing just a few years ago and it has worked like a charm.  Obviously there is a bit of work to be done on my end but to me it’s all part of the fun.

Caribbean Rst 02

Once I have the map completed and all the little bags filled I always double-check them with each other to make sure I didn’t overlook something.  Then I fold it all up and put in the larger ziptop bag.  All that’s left is to wait for them to return so I can see how they turned out.

I have a friend at work that always goes to Walt Disney World around July 4th and stays at the Wilderness Lodge Resort.  In anticipation of her trip I already put together a package for her which is pictured below.  This is a little risky to do this far in advance as the coins can change at any time but I always like to try to be as prepared as possible.

Wilderness Lodge 01

These two above examples just happen to both be for Disney, but I do the same for other attractions.  Most zoos, aquariums and theme parks have digital versions of their maps available online that I just download and use the same process listed above.  I’m always very appreciative to all my friends and family for taking the time out of their vacations to press some extra coins for me and the least I can do is make it as easy for them as possible.  Hopefully it doesn’t take up too much of their time and they can get back to what they had originally intended to do.

Travel Case – Always be Prepared

It’s happened to all of one at least once, but if you are like me that’s all it takes.  Just one time to miss a penny machine you weren’t aware was located someplace you just happened to stop at and your pockets are empty.  It’s enough to haunt a pressed coin collectors dreams.

empty-pocket-clipart-marketing-empty-pockets

 My one (and only) time this happened was during a trip about 7 years ago to Point Pleasant beach here in Jersey.  I had checked penny collector.com before my visit and all the machines listed I had collected on previous visits so I went without any supplies.  Then on our first stop along the boardwalk inside the Jenkinson’s Aquarium what do I see, a 3 press electric penny machine.  Quickly going through my pockets I confirmed what I already knew, no change.  I didn’t even have any cash to try to get change in the gift shop.  I ran back to where my car was located and tore it apart trying to find any pennies and quarters but it was just not to be that day.  I made a special trip back the following weekend and acquired the coins, and added the location to pennycollector.com for future visits to know about.  However I made a vow to myself that I wouldn’t let this happen again.  Lucky this time the machine was only about 25 minutes away from my apartment at the time, but what if it was further away I’d always remember the one that got away.  That’s when I came up with the below solution.

IMG_4962

First let me say I did try a few other suggestions I had read about online but none of them worked for me.  I really believe you just need to try some of these things and figure out what works best for you, and don’t let anyone tell you there is one and only way to do something.  A few times I tried just keeping a lot of extra change in a zip top bag, or I did try the mini m&m container which seems popular but I just don’t like a lot of things in my pockets jingling around especially if I’m doing a lot of walking.  What I figured out is that for most trips I go prepared with exactly what I need to collect the machines I know are available at my destination.  This solution I worked on was for those machines that catch me by surprise.  What this means is I didn’t want to have to walk around with more loose change that I needed.  This way I can keep my supplies in my car and if needed I can run back and know that I have what I need to acquire the pennies.

qtr box

My first tip is to always be prepared with enough quarters and pennies so you don’t have to try to collect these items last-minute.  Obviously expenses are different for each person, but when I’m trying to stock up I usually set aside $20 from a few paychecks so that it doesn’t really effect my income for the month (I’d probably just waste it on fast food or candy anyways) and use that to get a couple rolls of quarters.  I store my quarter in boxes as shown in the above picture.  These types of boxes can be found online and are pretty cheap.

penny box

The pennies can be a little harder to stockpile.  As with most pressed penny collectors we like to use the pre-1982 versions due to their higher copper percentage which results in better pressings.  Since this limits the coins we can find it becomes a little difficult to find Brilliant Uncirculated (BU) but there are places to get them.  Or you can probably find jars of dirty old pennies at your grandparents house, but you will most likely need to spend a lot of time cleaning them so they are acceptable for pressing.  However you decide to stock up on the pennies I always like to get BU rolls whenever possible and keep them in similar boxes to the ones I use for quarters.

IMG_4964

How on the main event.  I found the above plastic container at a Michael’s craft store, but have seen similar versions at Hobby Lobby, A.C. Moore, Wal-Mart and numerous other places.  This one was found in the jewelry making section and had the perfect little divided sections to hold my supplies.  This box is 6 inches long, 4 inches wide and about 1 1/2 inches tall.  With the 7 compartments inside you can customize this pretty much however you like.  The method I used as seen above is to have pennies in two of the sections (Initially I did keep pre-1982 in one and post-1982 in another but stopped this as I got more serious about the hobby).  The large middle section will hold up to 2 rolls of quarters if needed.  The remaining 4 sections hold little zip top bags I used to keep the set of coins from each machine together.  I the past I would have a large pile of pressed coins and trying to go back through them and put the sets together was a nightmare.  These little bags can be found in the jewelry sections at the craft stores as well.

IMG_4965

The size I use are 2 inches by 3.75 inches which I find holds the quarters and pennies needed for a 3 or 4 die machine easily.

IMG_4966

Then once the coins have been pressed I put them back in the same bag until I get home to catalogue them and a properly store them in my collection.

As I said above this isn’t designed to be carried around although I guess you could.  I primarily just keep this in the center console of my car (or whatever vehicle I’m using at the time).  Then if I come across a new machine I know I have quarters, pennies and bags available in an emergency collecting situation.  As the inventory in this container gets low I just restock as needed to ensure I never run too low .  So far it hasn’t let me down, and I find that even if I have to run back to a parking lot to get some spare change I don’t mind as the alternative would be to leave the machine uncollected.

Storage and Organization of Penny Collection

As you can see by my previous posts it has been a pretty busy summer.  I’ll be honest with you that was actually not as busy as some previous years.  When I first really started getting into the hobby about 5-6 years ago I would spend every weekend driving to a different part of New Jersey collecting all the coins listed on the Pennycollector.com website for the state.  It kept me busy and I enjoyed every minute of it, but my car definitely paid a toll. Have you ever driven on the New Jersey Turnpike?  Suspension and tire destroyer is all I will say.

Now that the summer has come and gone my vacation days at work have disappeared for another year.  This is always a great time to try to get all my recent coin acquisitions organized and stored properly for their permanent display.  I usually try to do this within a few days of coming back from a collecting mission, but sometimes that just doesn’t happen and they start to pile up.

This is purely my process and everyone should try out different methods and pick what works best for you.  I’m a little (ok a lot) anal retentive when it comes to this part but thought it would be beneficial to walk you through it anyways.

In addition to this blog I also have a website where I keep my penny collection listed with a map of the US and Canada showing all the places I have collected coins from and others still undiscovered.  First I always take my new pennies and scan them into my computer so I can eventually add them to the website.  With that done I then take each coin and use a microfiber cloth to gently wipe away any smudges, dirt or fingerprints.  You can Google other ways to clean the coins, I usually only used brilliant uncirculated pre-1982 coins (we will discuss this in more detail in another post) so most of my pennies are already pretty clean and don’t require any major cleaning procedures.

2x2 holder

I then place each coin in a cardboard 2×2 coin holder.  These can be purchased in most coin collecting stores, and definitely online.  A fellow TEC Member Oded Paz (and former President of TEC) sells a lot of really high quality collecting supplies and I’ve used him in the past, he really is great to work with.  You can check out his website at http://www.odedpaz.com.  They usually come in packages of 50 or 100 and are pretty cheap.  I usually try to stock up on them once a year so I always have them on hand.

flat clinch

Another necessity is a flat clinch stapler and staples to lock the coin in place in the cardboard holder.  As you can see from the picture above this avoids the bending of the staples and keeps everything nice and flat.  Next I use my computer to create custom labels for each coin.  I used to just hand write them but I quickly realized that I have terrible handwriting so using the computer was a much better option.  When I first started doing this I had gone through a few different ink-jet printer labels before I found the one that fit my needs.  Usually it is listed as “Return Address” label but the size is usually 1/2″ x 1 3/4″.

label

There are many different types and I usually just buy a big package of whatever is the cheapest.  All computer word processors come with templates for each of these labels and you just need to locate the correct one.  Then I start typing in the information.  Usually across the top of the label I list the State abbreviation and then the location and a number if more than one machine was at that location.  For example when I visited Sesame Place which is in Pennsylvania and had three machines I used the following for the first machine “PA – Sesame Place #1”.  Then I leave a blank line and following that I give a brief description of the image on the coin.

storage 4

Once I have the labels created on my computer I just print them out and stick them on.  In most cases I want to make sure the entire coin is visible through the cardboard holder so I cut the label in half so the location is listed at the top and the design description across the bottom.  Then I place each one into a 20 pocket 2×2 coin page for three-ring binders.  Now an important note about these pages.  There are a lot of cheap ones available online, however you want to make sure you find ones that do not have the harmful PVC in them.  Then I store these pages in large three-ring binders that I buy at my local office supply store.  Usually I get 3-inch binders for most of my collecting, but I do have special binders just for Walt Disney World which has a lot of coins so I get a larger 4 or 5 inch binder to accommodate.

storage 3Each of my binders usually contains two to three states worth of coins only just to try to help keep them organized and make it easy to add additional coins in the future.  Each binder always has a section at the back for retired designs.  Anytime a location updates their machine with new pennies I make a new label with the above process however I add “Retired 2014” or whatever the year is that the design was removed.  These go at the back so I can keep all the retired designs together.  I also like to create special binder spine labels that list each state contained in that binder, and I also try to design a cover that includes some of the penny designs collected.

storage 2

Once all the coins have been stored in their appropriate binder I have small bookshelves in my basement that I keep them all together.  The bookshelves are right beside my office desk that I use when doing all the above so everything is within arms length when needed.

storage 1

I won’t get into the details of how I add the pictures of the coins to my website as is can get a little technical and I barely understand the process myself.  But feel free to stop by and check it out:  www.DavidsCoinTravels.com.  I primarily use it for my own cataloging purposes.  Every so often I do receive coins from other collectors or friends that know I collect them and find some on their own travels.  These are always appreciated but I usually don’t list them directly on my website as I keep that purely for just the coins I have personally collected.  I always like to see where I’ve gone and the places I still need to visit.  It’s a big country and I’ve got a lot of exploring still to do.